
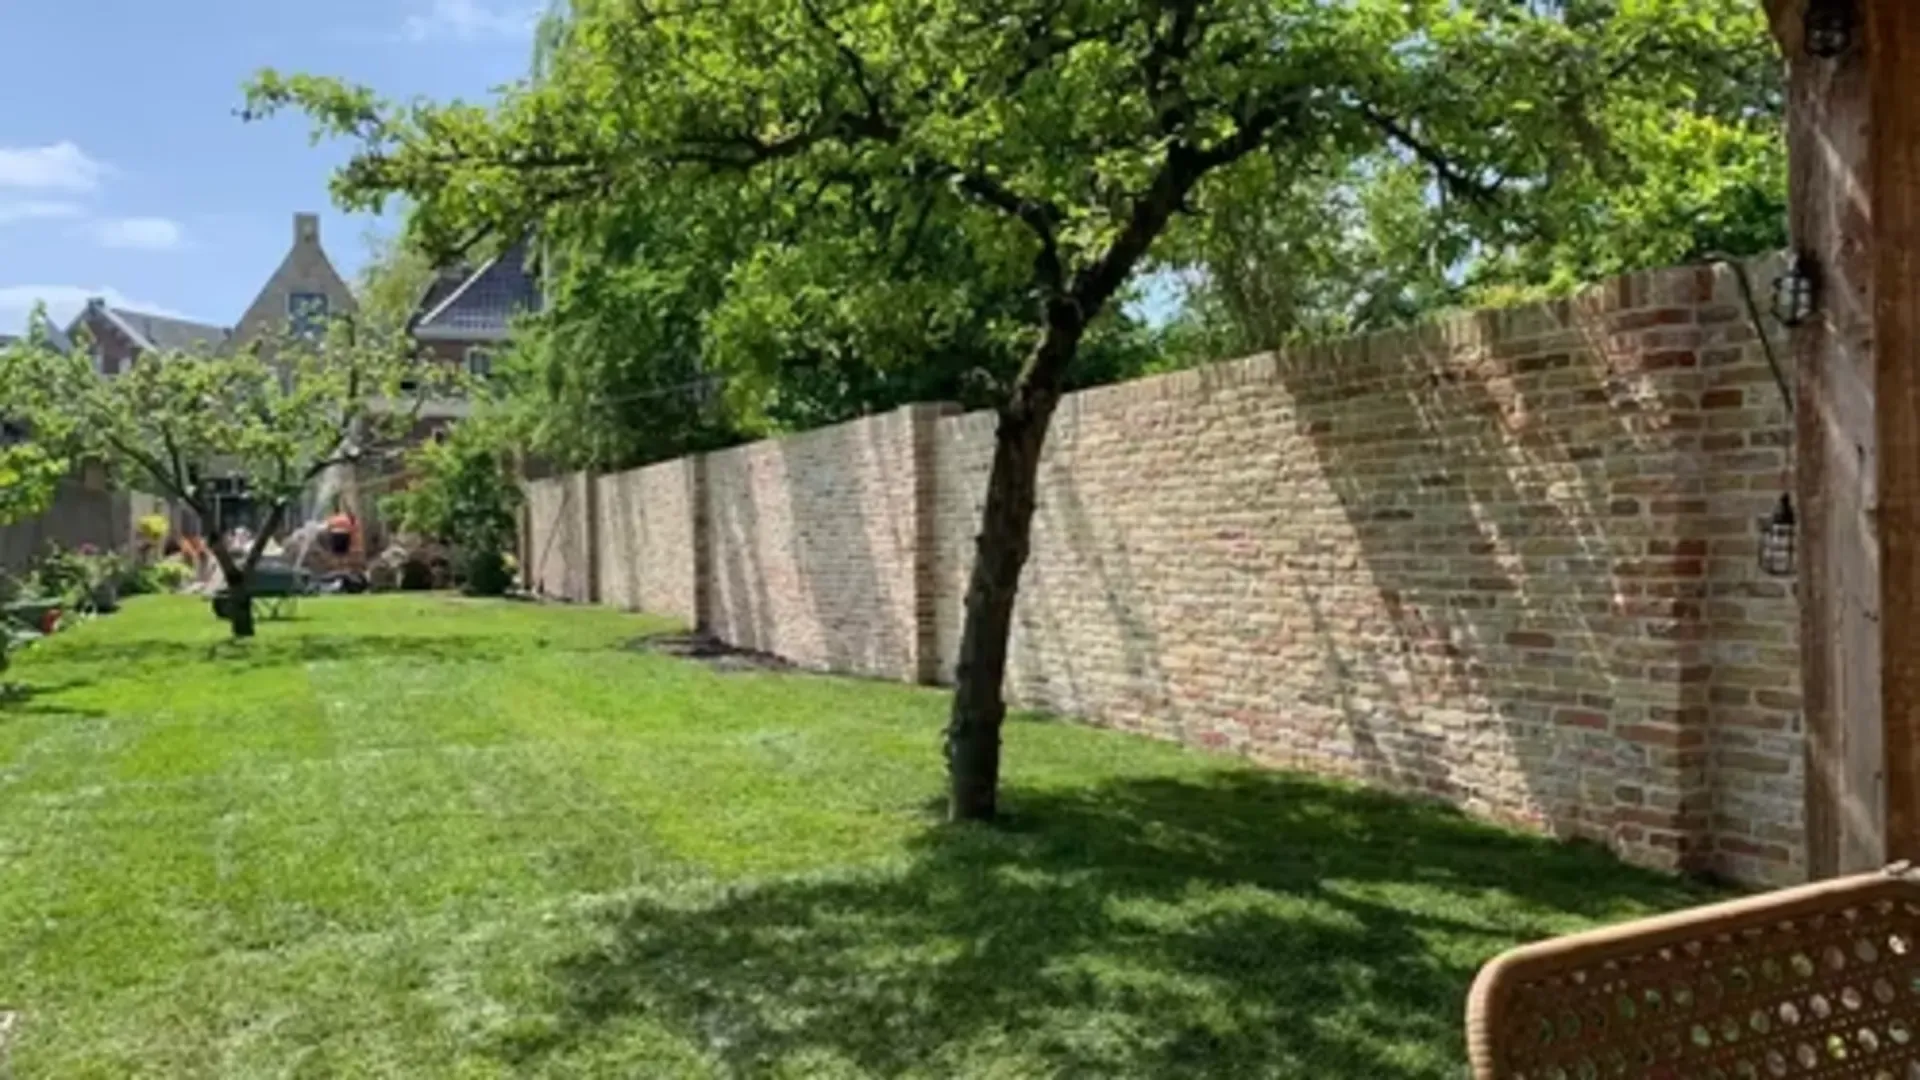
How do you build an authentic wall with old bricks?
Building a wall with old bricks requires a careful approach that takes the properties of historic masonry bricks into account. Old masonry bricks differ from modern bricks, which affects the way you work. With the right preparation and tools, you can create a beautiful authentic wall.
Why choose old bricks when building a wall?
Old masonry bricks give your wall character immediately. New bricks have a uniform color and surface, while historic bricks tell a story through variation in size, texture, and patina. This variation develops through years of exposure to wind, rain, and sunlight, so no two bricks are exactly the same. For a facade, garden wall, or low wall, this creates a lively appearance that new materials cannot match.
By using reclaimed bricks, you also contribute to circular construction. The bricks are salvaged from demolished farmhouses and historic buildings, giving them a second life in your project. This saves raw materials and prevents valuable heritage from being lost. Authenticity and sustainability go hand in hand here.
What do you need to build a small wall with old bricks?
Preparation starts with gathering the right tools and materials. You will need:
Tools
- A trowel for applying mortar and scraping away excess.
- A chisel and hammer for cutting bricks to size.
- A spirit level and measuring rule to check that the wall is straight and plumb.
- Masonry profiles or corner battens with a line stretched between them.
- A mortar tub for mixing the mortar.
Materials
- Enough old bricks
Allow for the required quantity per square meter. For a half-brick wall, count on roughly 78 bricks per m2; for a one-brick wall, double that amount. You will also need cement and sand for the mortar in a 1:3 mix. Always order 10% extra material so you know you have enough bricks.
Step-by-step plan for building a small wall with old bricks
The following steps explain how to build a small wall with old bricks.
Step 1: Lay the foundation
Start with a level, solid foundation. Make formwork from concrete plywood, make sure it is level, and fill it with concrete. Let the foundation cure for at least a week before you start bricklaying. A good foundation prevents settlement and leaning.
Step 2: Place masonry profiles
Decide which type of masonry bond you want. Then place a masonry profile or corner batten at both ends of the wall. These battens mark the height and width of your wall. Calculate the course height by stacking ten bricks, dividing that measurement by ten, and adding a 10 mm joint. With historic bricks, this measurement often varies between 6 and 7 cm. Mark this spacing on the battens.
Step 3: Prepare the bricks
Lightly dampen the bricks by briefly dipping them in a bucket of water. Bricks that are too dry draw moisture out of the mortar, weakening adhesion. Bricks that are too wet cause mortar to run. Test the correct moisture level by pressing two mortared bricks together: after a few minutes, mortar should remain on both bricks.
Step 4: Mix the mortar
Mix cement and sand in a 1:3 ratio until the color is even. Gradually add water and stir until you have a smooth mass similar to firm mud. For a half-brick wall, count on about 25 liters of mortar per m2; for a one-brick wall, about 60 liters per m2.
Step 5: Lay the first course
Apply mortar to the foundation and place the first brick. Tap it with the trowel until the top reaches the height of the stretched line. Also apply mortar to the end of each brick before placing the next one. Check regularly with the spirit level whether the bricks are horizontal and plumb.
Step 6: Lay the second and following courses
Create a bond by staggering the joints of successive courses. Start one course with a whole brick and the next with a half brick. Break bricks by making a notch with a chisel and then giving a sharp blow. Move the line up one mark with each course.
Step 7: Finish the joints
Rake out the joints about 1 cm deep on the same day using a jointing iron or the tip of the trowel. After two weeks, the joints have cured enough to finish. You can choose different joint styles: a flush joint for a clean effect, a cut joint for a traditional look, or a recessed joint for a rustic character. Finish the vertical joints first, then the horizontal joints. Brush the wall clean with a soft brush afterward.
Can old bricks be combined with new bricks?
Sometimes you may want to combine old bricks with new masonry, for example when extending an existing building or partly repairing a wall. This requires extra attention to color and size. Historic bricks often have different dimensions than modern bricks. You can make these differences less visible by adjusting the joint width. The color can also differ. Old bricks often have wear, which is precisely what makes them unique.