
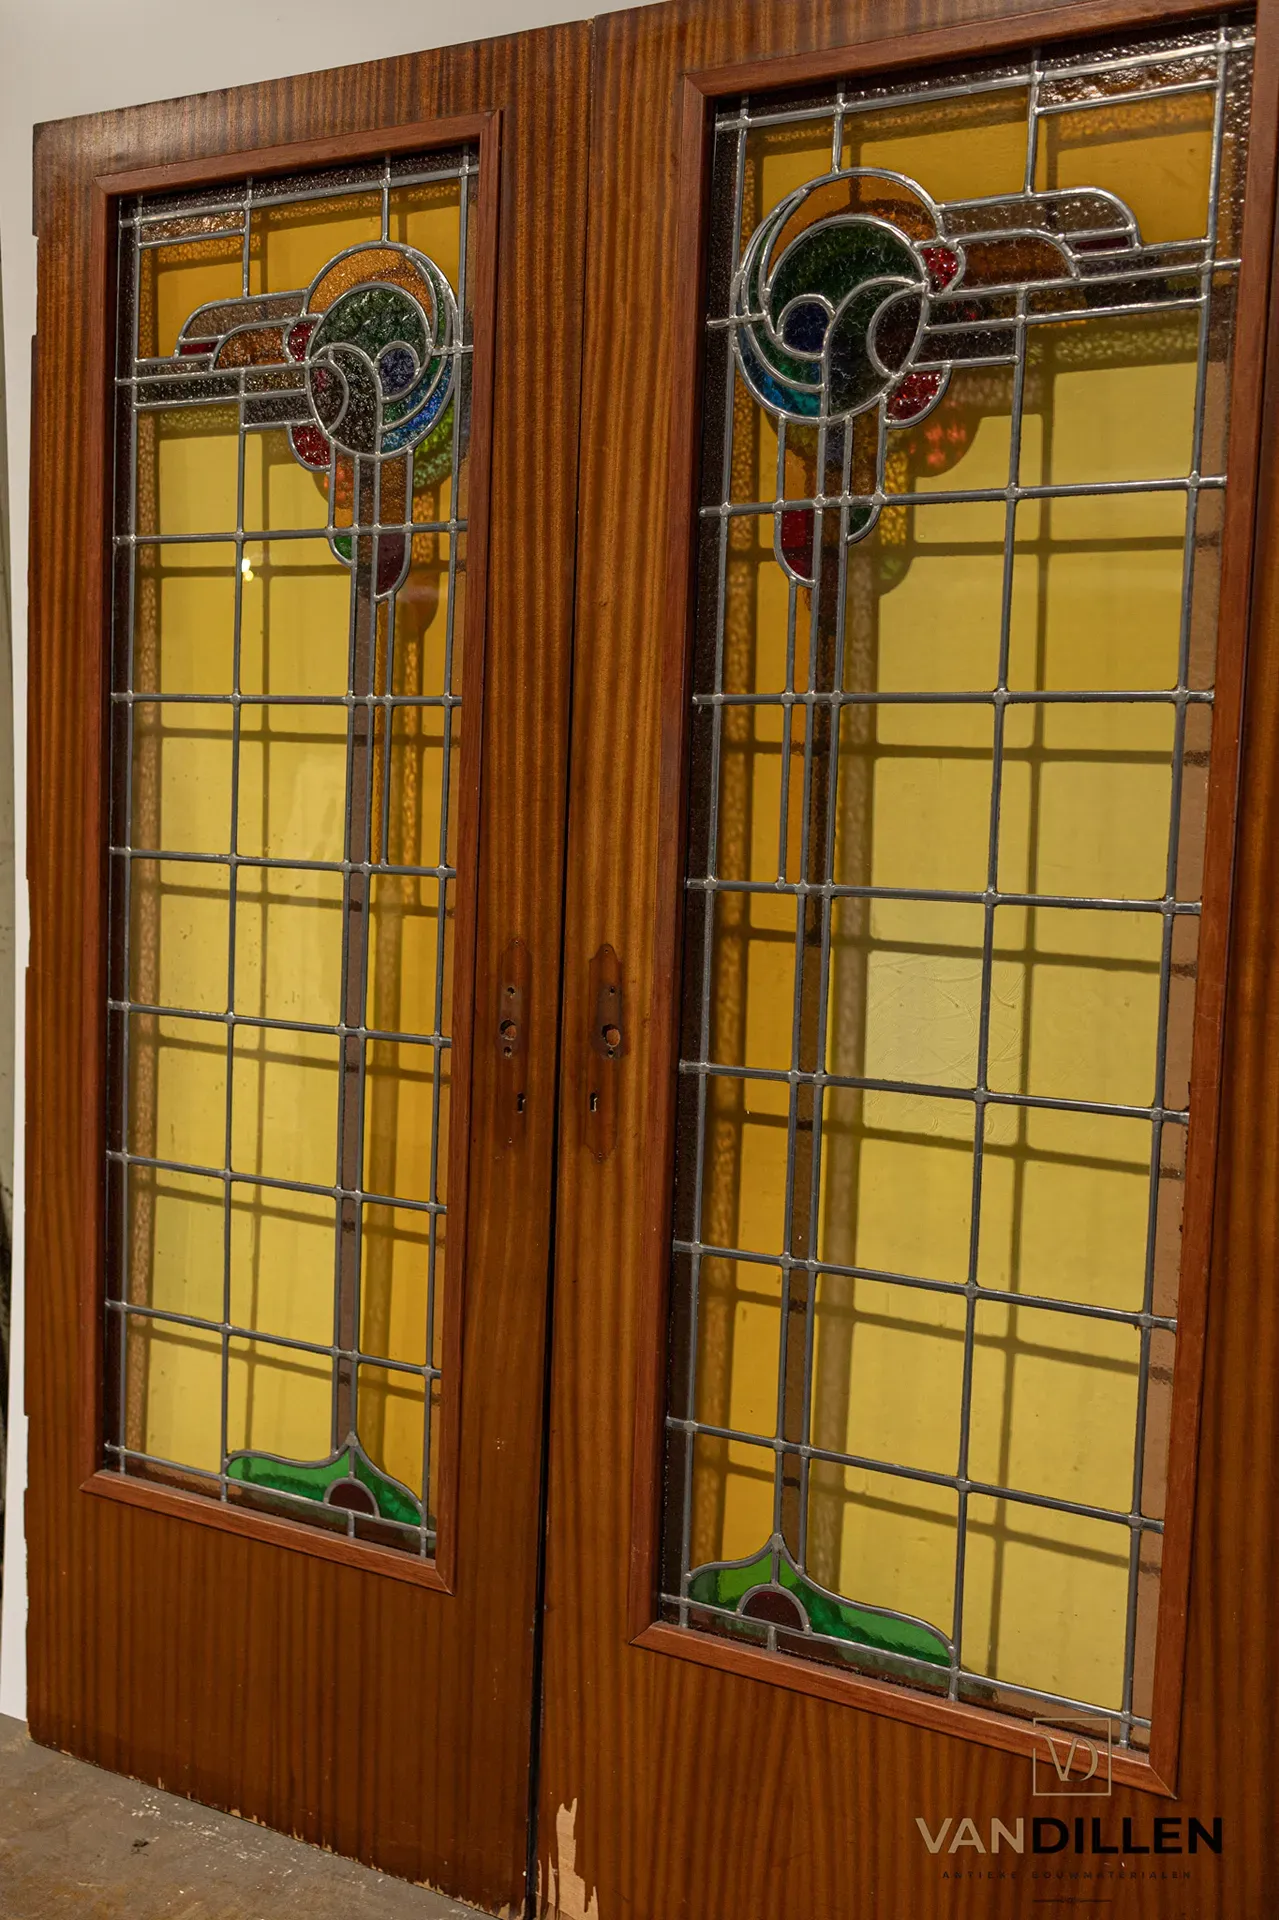
Installing period dividing doors: a complete step-by-step guide
Installing reclaimed period dividing doors needs accurate measurements and preparation. Follow the steps for fitting old doors, tracks and surrounding cupboards.
Can reclaimed period dividing doors be installed again?
Yes. Reclaimed period dividing doors, known in Dutch as ensuite deuren, can be reused in an existing home, renovation or new interior. Because historical doors were originally made for another property, successful installation begins with accurate measurements and a plan tailored to the particular set.
In a classic connected-room layout, the doors usually slide away to the left and right within the wall or behind or inside fitted cupboards. Doors, tracks, opening, cupboards and finishing therefore need to be designed as one complete arrangement.
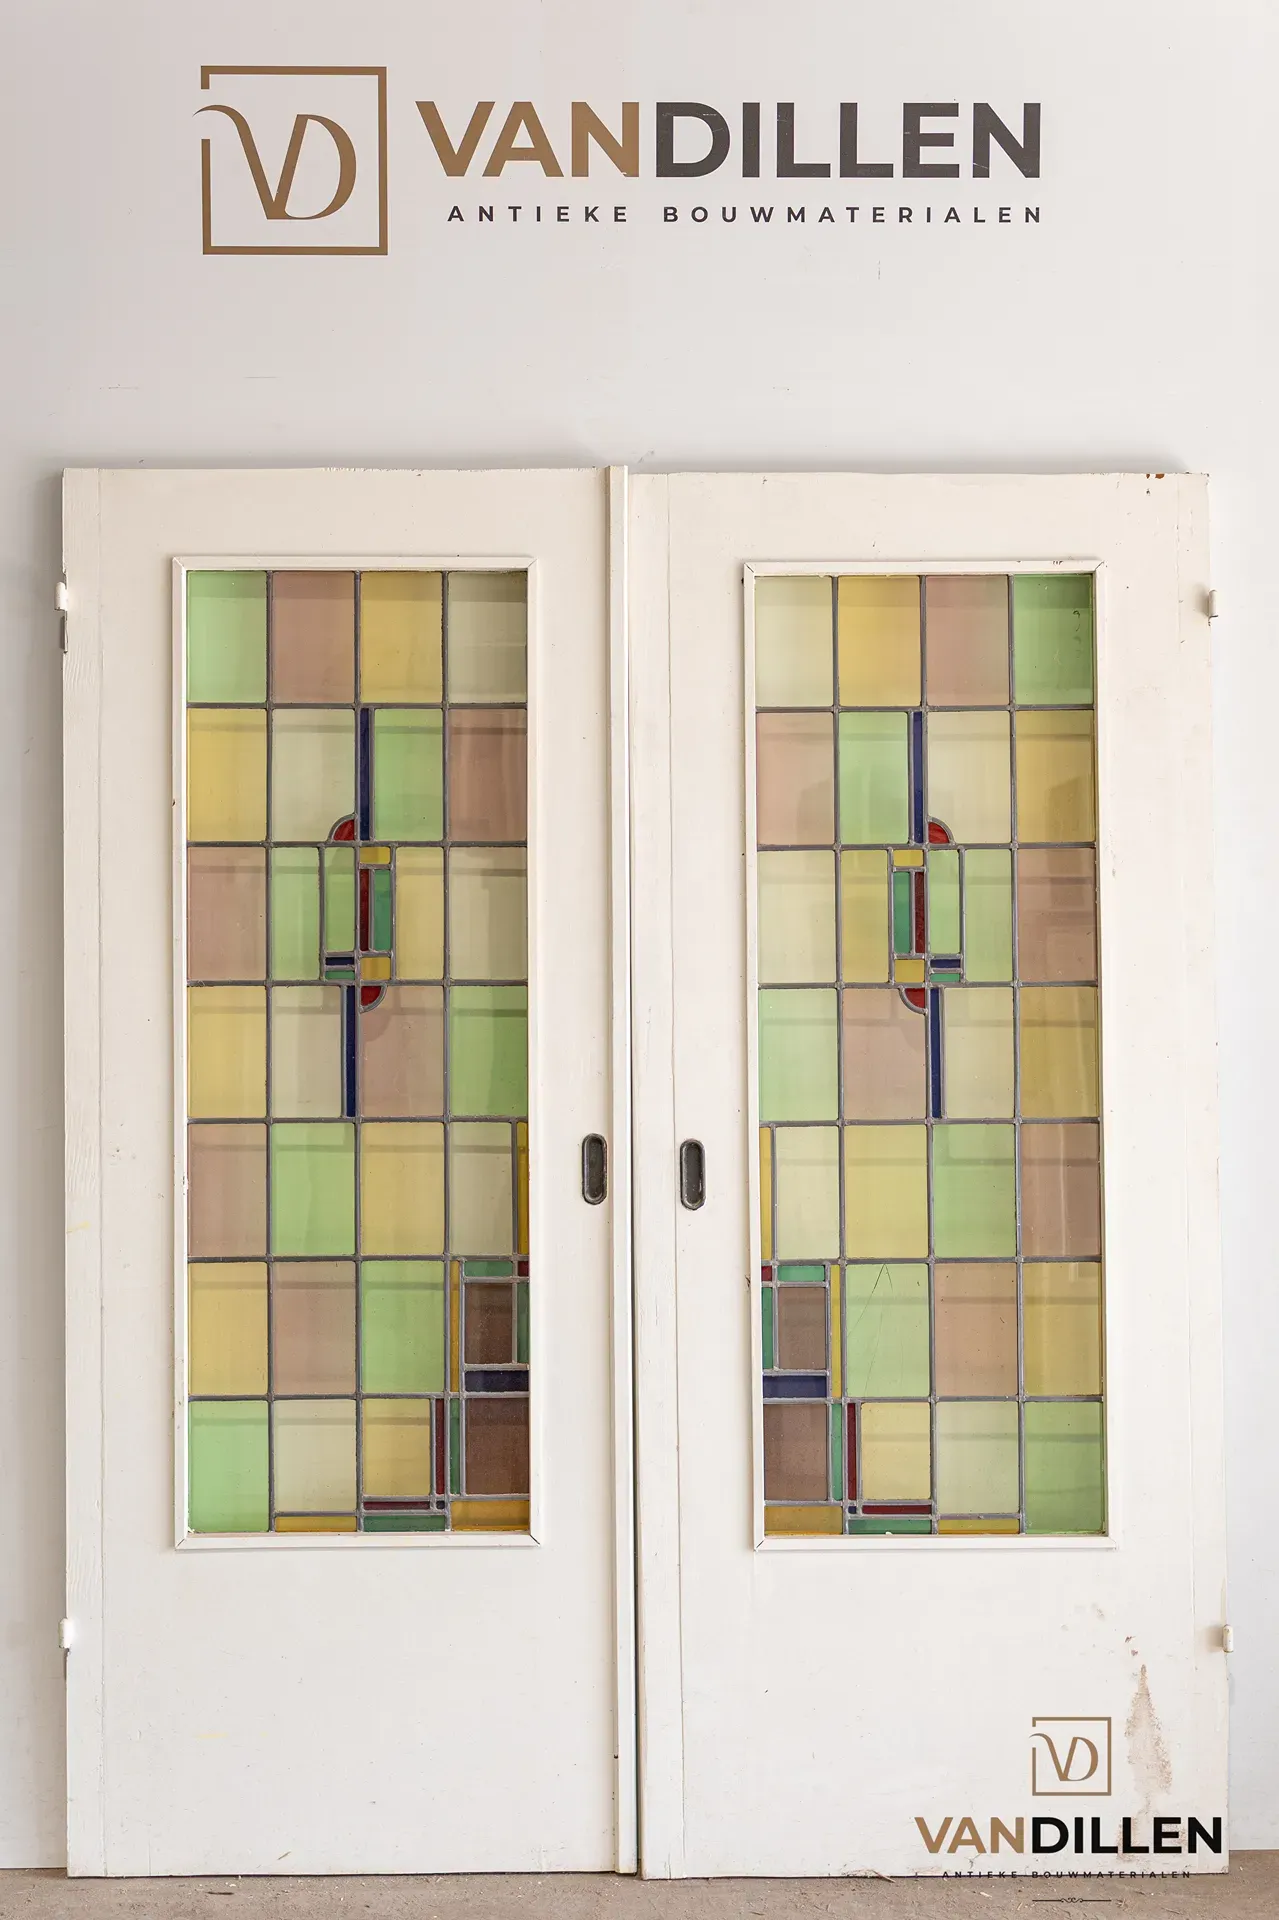
What do you need to install period dividing doors?
The precise materials depend on the chosen construction. Most arrangements require timber framing, a suitable sliding-door system with an overhead track, fixings, sheet material and the final finish.
If fitted cupboards are being built, allow for cupboard materials, shelves, panels, decorative mouldings and any cupboard doors. Always use fittings and tracks suited to the weight and size of the historical doors.
Installing period dividing doors step by step
Step 1: determine the position of the room division
First decide where the separation between the two rooms should be. Consider not only the room’s midpoint but also circulation routes, furniture, existing walls, ceiling height and the desired opening width.
A connected-room arrangement often works best when it suits the home’s existing proportions. In older homes, existing architectural details or traces of an earlier arrangement may help establish its original position.
Step 2: measure both the room and the doors accurately
Measure the available width and height in several places. Old homes are not always completely square or level, so small differences may occur.
Then measure each door separately: height, width and thickness. Check the positions of existing fittings, recesses and any handles.
If you have not bought the doors yet, it can be sensible to select a suitable historical set first and design the new construction around it. Antique doors do not have a fixed modern standard size.
For background on different designs and buying considerations, see our complete guide to reclaimed dividing doors.
Step 3: establish the required sliding space
Check that there is enough space on both sides to open the doors fully. In a traditional arrangement, they often disappear into the construction beside the opening.
The available sliding space must therefore suit the door width, with sufficient extra room for the selected track, guides and adjustment. Allow for handles and fittings that must not hit the construction.
Step 4: build the timber frame
Build stable timber framing as the base for the opening and any surrounding cupboards. The framing dimensions are determined by the doors, opening, track system and intended finish.
Spruce timber can provide a practical base. Ensure the construction is firm, square and correctly aligned before installing tracks and finishes.
When fixing to the floor, wall or ceiling, check for pipes, wiring and any underfloor heating. Choose fixings according to the existing structure: no single fixing method is suitable for every home.
Step 5: install the overhead track
In many systems, the doors hang from an overhead track. Install it exactly level and according to the sliding-system instructions. Even a small deviation can make a heavy door move by itself or close poorly.
Before finishing the construction, check that the track suits the door weight and is securely fixed to the supporting structure.
Step 6: hang the reclaimed doors
Fit the hangers or roller carriages in the correct positions and hang the doors on the track. Adjust each door individually.
Check that the doors hang straight, move smoothly, meet correctly when closed and do not rub against the floor, wall or joinery. Do this before enclosing the structure fully, as later adjustments are much harder.
Step 7: install the bottom guide
A door suspended only from above can move at the bottom. A bottom guide is therefore usually fitted to prevent it swinging sideways.
The exact arrangement depends on the system. Some guides attach to the floor; others can be incorporated almost invisibly. With underfloor heating, always establish pipe positions before drilling into the floor.
Step 8: build and clad the cupboards
For a traditional connected-room arrangement with cupboards, the framing can now be clad. Keep enough clearance for the doors so they cannot catch on panels, screws or other components.
Finish the visible side with panels, mouldings and cupboard doors suited to the historical doors. Matching profiles and proportions creates a more convincing whole.
Step 9: fit hardware, skirting and mouldings
Once the doors run correctly, fit the visible door hardware. Prefer fittings whose style and size suit the doors, and check that projecting parts have enough clearance during sliding.
Finish joints and junctions with appropriate skirting, architraves and decorative mouldings. This finishing work largely determines whether the new construction looks like a later addition or a natural part of the interior.
Step 10: paint and finish the arrangement
Repair damage where necessary, degrease and sand the timber as appropriate for the intended finish, then apply primer and paint. Where doors have attractive existing patina, some of the old finish may deliberately remain visible.
Carefully protect historical stained glass, bevelled glass and other old glazing during sanding and painting. Allow new paint to cure sufficiently before using the doors and cupboards intensively.
Common mistakes when installing period dividing doors
Making a finished opening too early
Do not create a fully finished standard opening and only then start looking for old doors. Historical dimensions vary widely, and this can unnecessarily restrict your choice.
Allowing too little sliding space
A door must slide away completely without its edge or fittings hitting the construction. Calculate the space before building cupboards or a secondary wall.
Failing to install the track exactly level
Even a small deviation becomes noticeable with heavy sliding doors. Check the track carefully before finishing the surrounding structure.
Ignoring the weight of old doors
Historical timber doors can be heavy, particularly when large or extensively glazed. Use tracks and fixings suitable for the actual door weight.
Drilling without checking for services
This is particularly important with underfloor heating. Check the substrate before mechanically fixing floor guides, framing or other components.
Install the doors yourself or use a professional?
An experienced DIY enthusiast or carpenter can build a connected-room arrangement, but accurate measurement and adjustment are essential. Professional installation can be sensible for large, heavy or valuable antique doors.
This is especially true where bespoke cupboards, new mouldings or alterations to unusual historical doors are also required. The doors are often the most valuable and distinctive part, so poor measurements or fitting should not be allowed to damage them.
Buying reclaimed dividing doors for your project
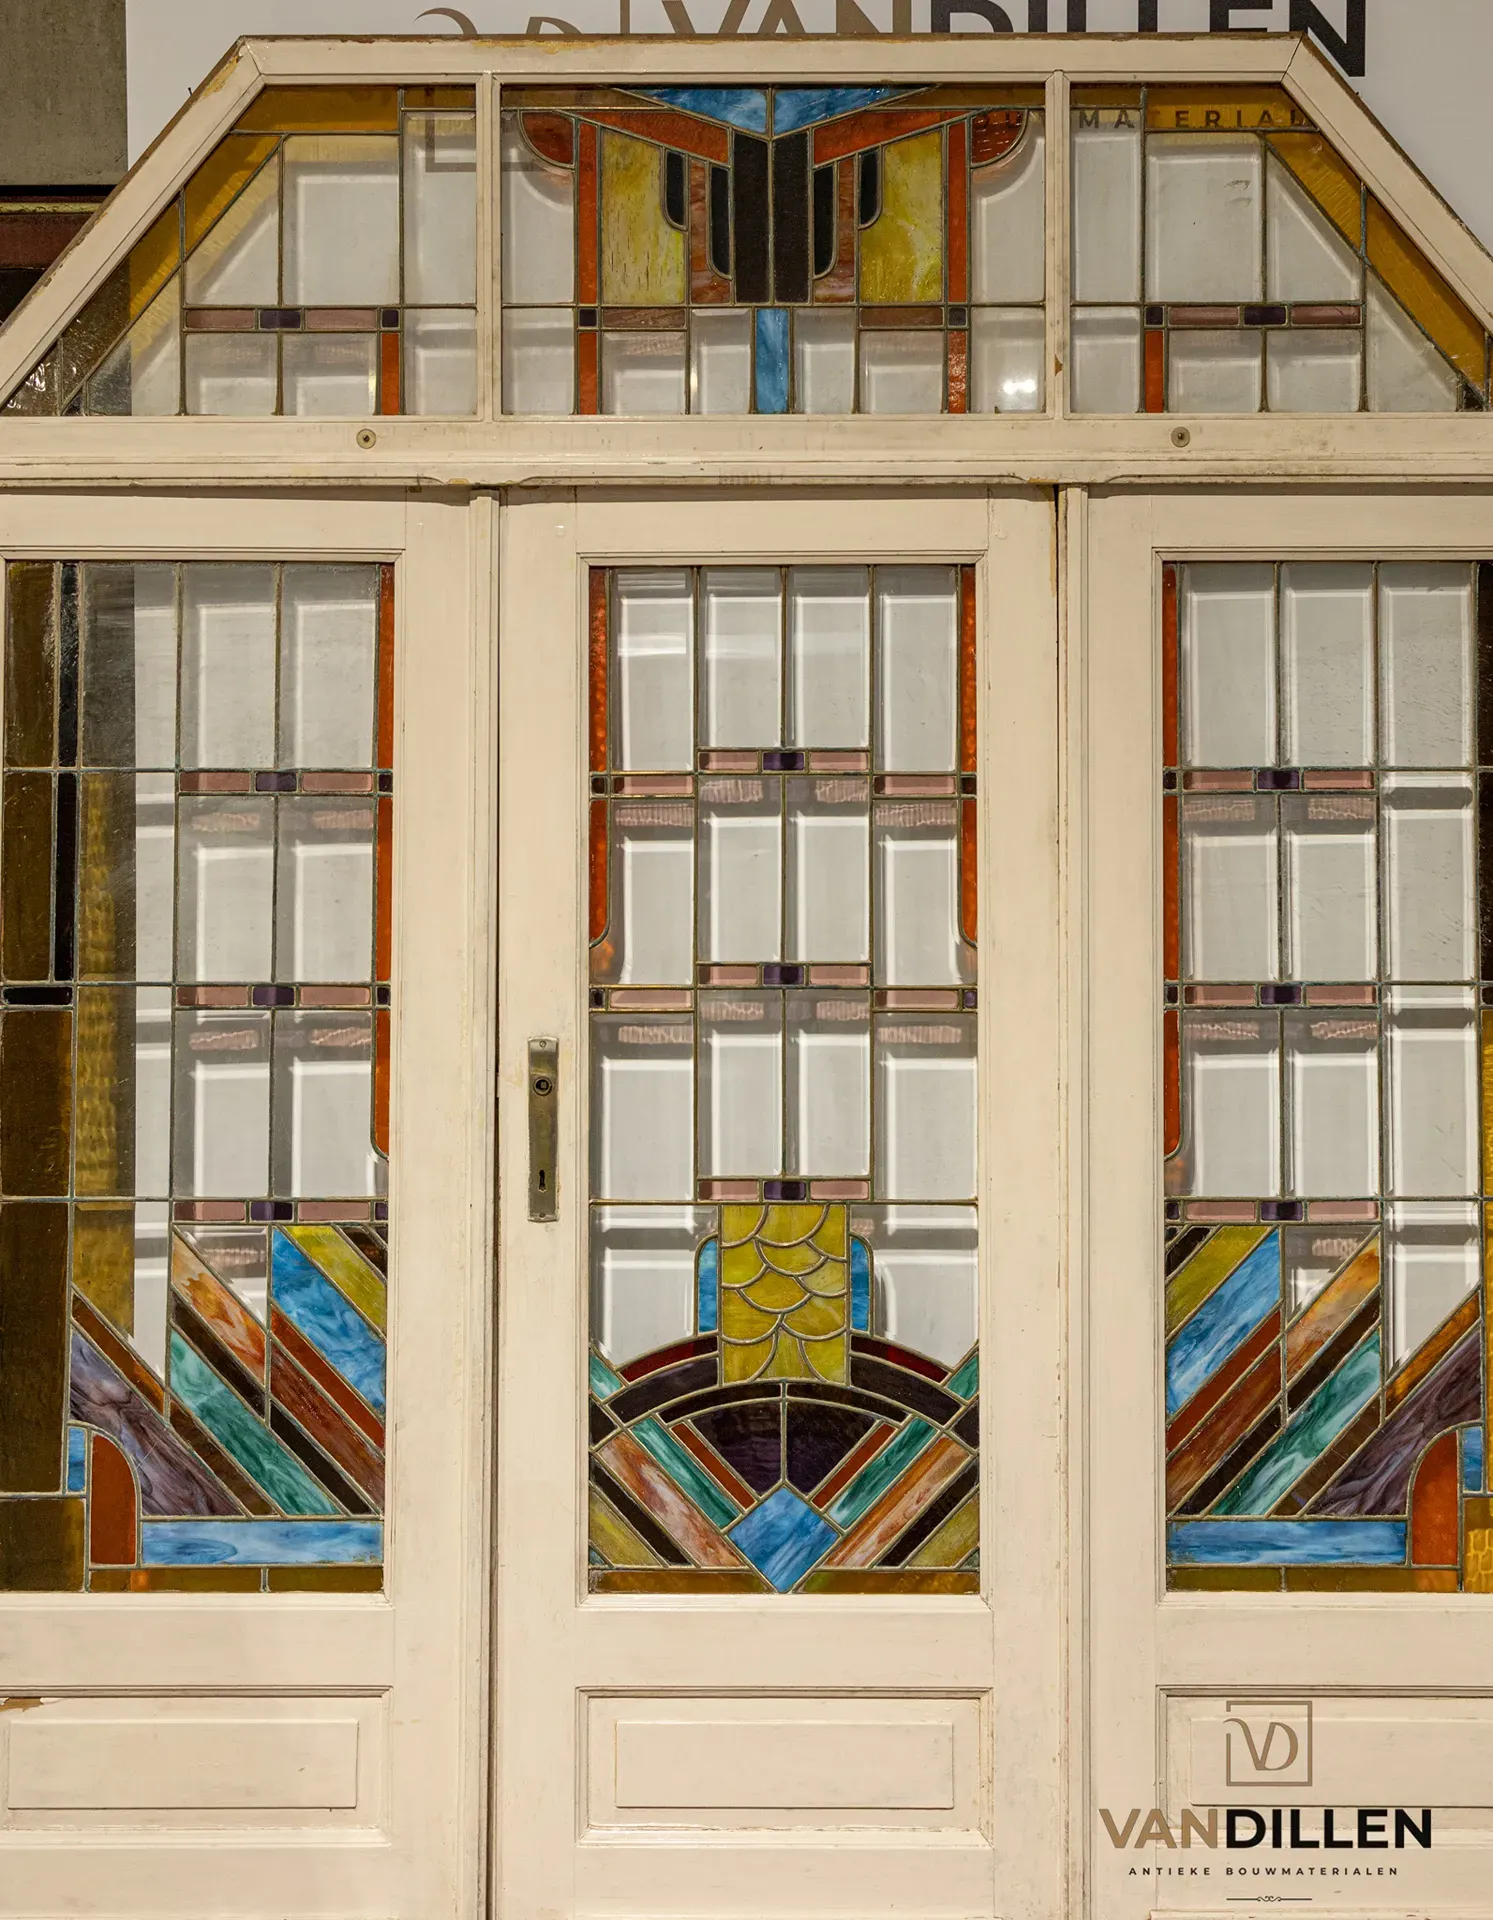
Van Dillen Antieke Bouwmaterialen has a large, changing selection of reclaimed dividing and sliding doors, including stained glass, bevelled glass, painted stained glass and various historical panel designs.
Measure the available space beforehand, but remember that the final construction can often be tailored to the selected set. If you have not chosen one, compare sizes and designs before building the final wall or cupboards.
To decide which design suits your interior, read what period dividing doors are or compare reclaimed doors with new bespoke work. If your main choice is between a contemporary sliding system and authentic doors, see modern sliding doors versus antique dividing doors.