
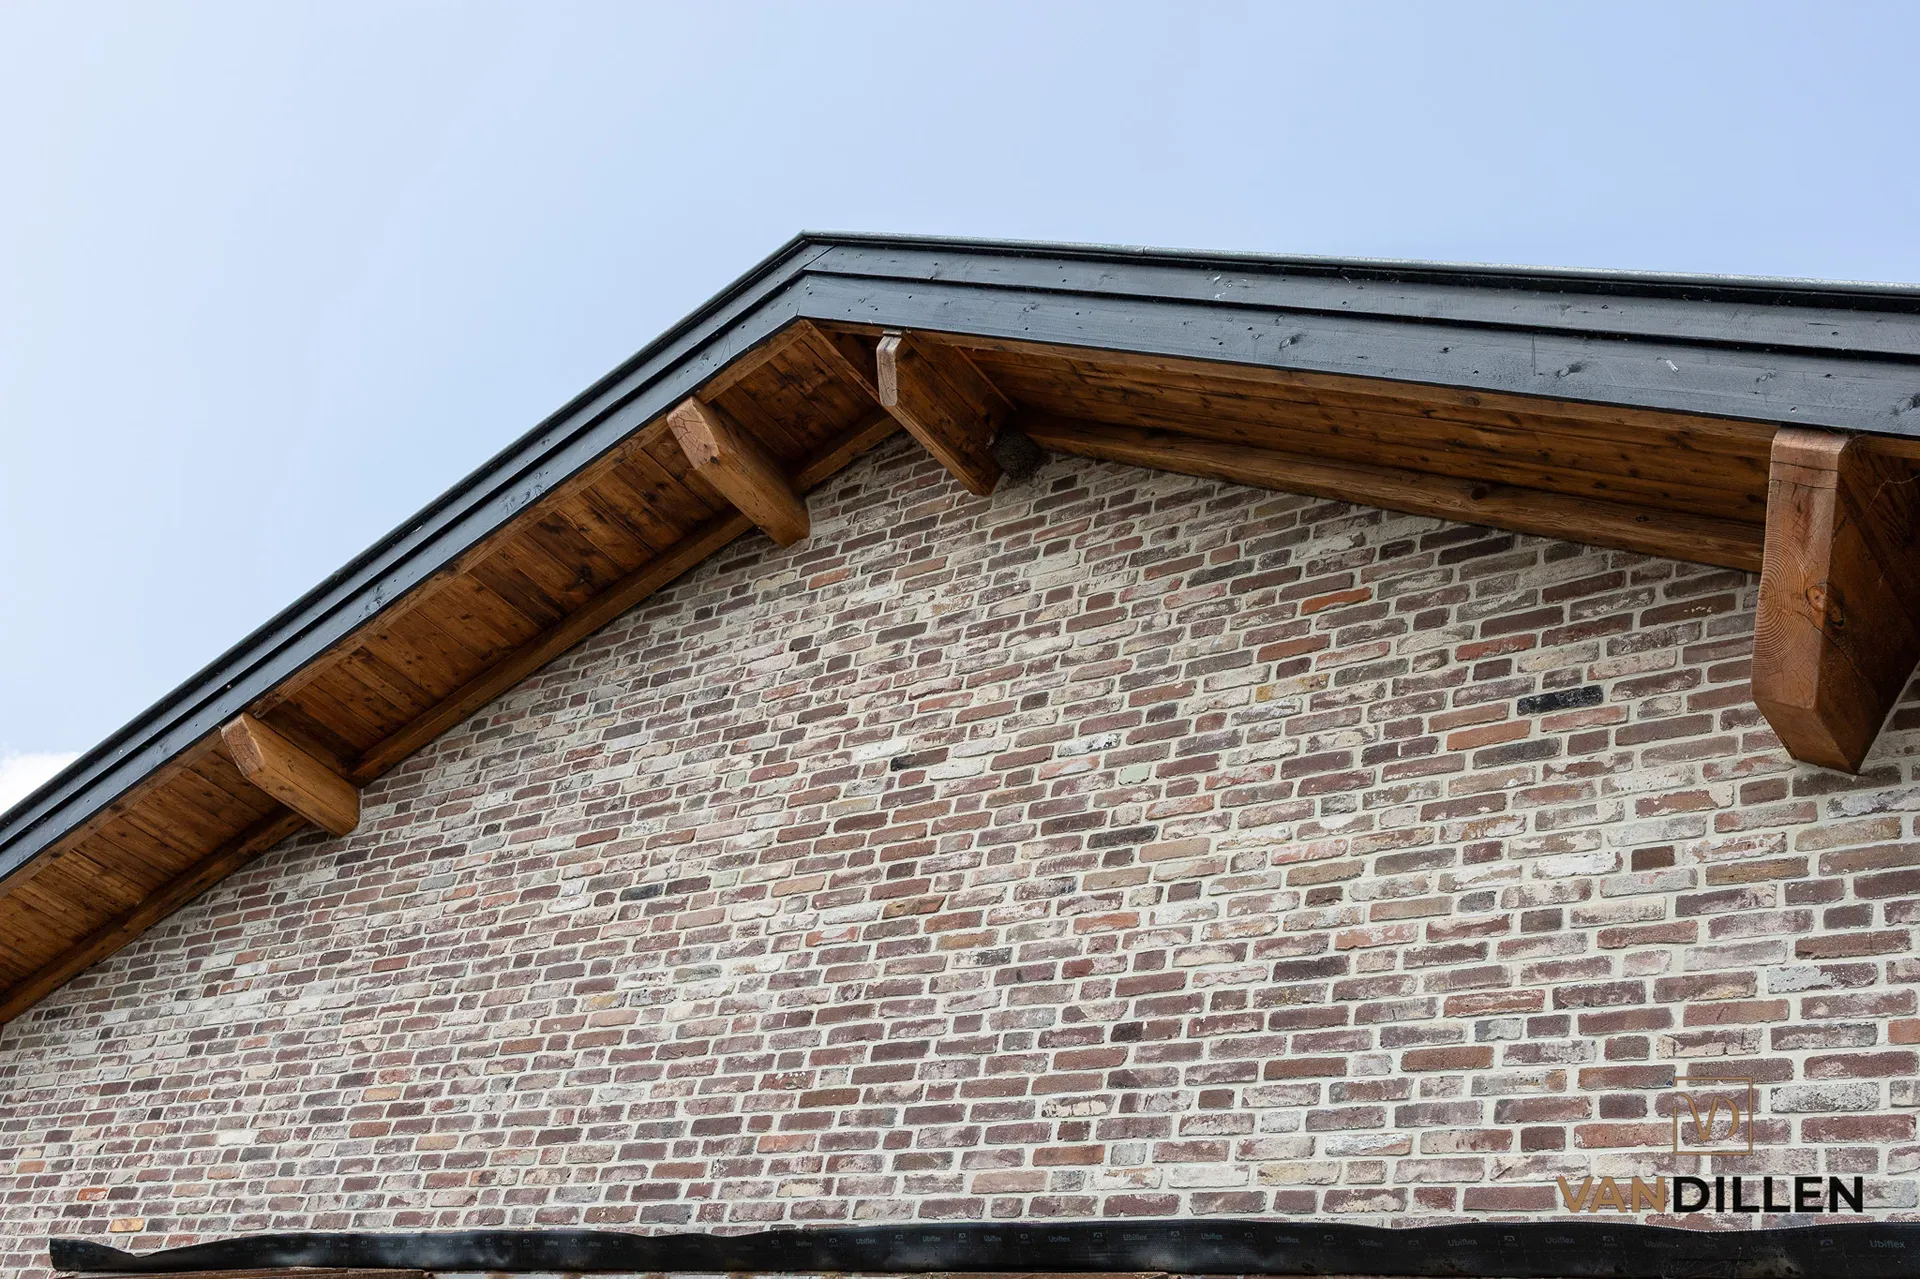
Cleaning old bricks with fine abrasive blasting: how does it work?
Considering fine abrasive blasting for old bricks? Learn how fine abrasive blasting works, what it can remove, how it differs from sandblasting and when it is safe for old bricks.
What is fine abrasive blasting?
Fine abrasive blasting is a form of fine abrasive blasting in which compressed air projects a fine blasting medium onto a surface. It is used to remove paint, soot, dirt and certain old coatings.
The technique can be adjusted more precisely and less aggressively than traditional coarse sandblasting. This does not mean it is automatically safe for every old brick. The blasting medium, pressure, distance, angle and hardness of the brick together determine the result.
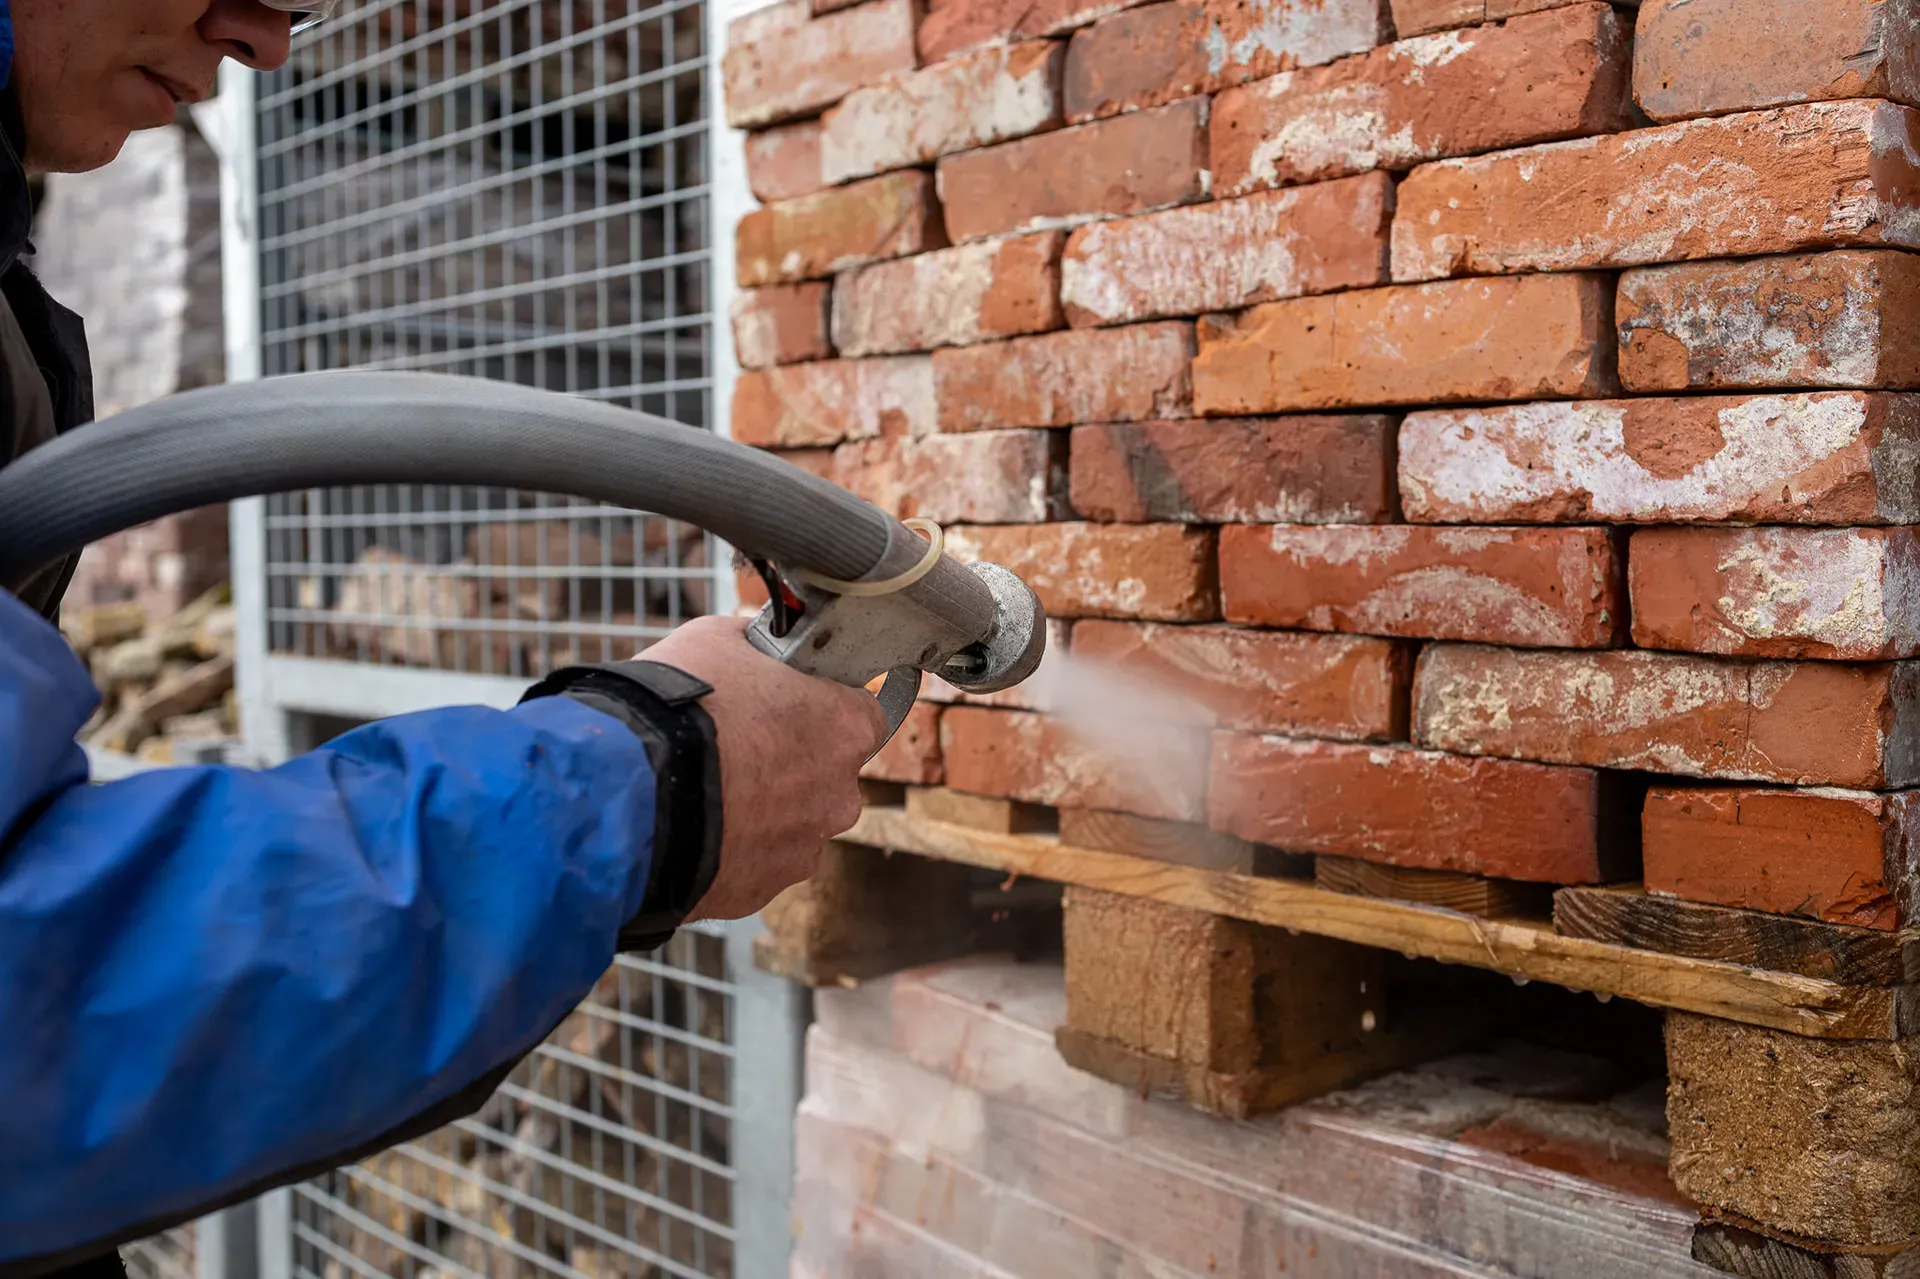
Fine abrasive blasting for old bricks
Old bricks need careful treatment. Their historic surface may be relatively soft or weathered, and this surface often accounts for much of their character.
Overly aggressive cleaning can damage the fired outer skin or surface texture. The brick may become rougher, lighter or more uniform than intended. Always have a small test area treated before cleaning an entire facade or internal wall.
What can fine abrasive blasting remove?
Depending on the surface and settings, fine abrasive blasting can remove or reduce paint, soot, deposits and other surface dirt. Not every layer is equally easy to remove.
Stubborn cement residue, deep-seated dirt or ingrained discolouration may require another method. The aim should not always be to make an old brick look completely new: natural patina may be part of the desired appearance.
Fine abrasive blasting or sandblasting?
The terms are sometimes used interchangeably, but fine abrasive blasting usually refers to finer blasting media and a more adjustable, relatively mild treatment. Traditional sandblasting can be much more aggressive.
For old bricks, the name of the technique is not the only consideration. The actual settings and the operator’s experience are just as important. For a direct comparison, read our blog cleaning old bricks: fine abrasive blasting or sandblasting?.
If you are considering blasting an entire exterior facade, also read sandblasting an old facade: is it a good idea?.
Can fine abrasive blasting damage old bricks?
Yes. Even a relatively fine blasting technique can cause damage if the treatment is too aggressive or the brick has a vulnerable surface.
Possible effects include loss of the original fired outer skin, rounded edges, a rougher surface or colour changes. For old handmade bricks and other heavily weathered bricks, this can damage the very qualities for which they are valued.
Start with a test area
A test area is almost always advisable for historic masonry. Choose a small, representative spot and assess the result only after the dust has been removed and the surface is completely dry.
Look beyond how clean the brick becomes. Pay particular attention to its texture, colour, edges and mortar joints. Only then can you decide whether the same treatment is suitable for the whole surface.
Fine abrasive blasting an internal brick wall
Fine abrasive blasting is also used on old internal brick walls, for example when masonry is left exposed after a renovation. Paint or dirt can be removed to reveal the original brickwork.
Indoors, extra attention is needed for dust control, screening and protection of floors, window and door frames, and services. A test area remains important here too.
What happens to the mortar joints?
Blasting affects the mortar joints as well as the bricks. Old or soft joints may wear away or suffer damage more quickly than the bricks themselves. Check their condition beforehand.
If repointing is needed, the new mortar must suit the historic masonry. Read more in our guide to jointing mortar for old bricks.
Does a facade need water-repellent treatment after fine abrasive blasting?
Not automatically. After cleaning, first assess why the facade was cleaned, the condition of the bricks and joints, and whether extra protection is needed at all.
A water-repellent treatment can reduce rainwater absorption in certain situations, but it is not a standard follow-up to fine abrasive blasting. Read our explanation of facade impregnation.
Fine abrasive blasting reclaimed bricks
Old bricks intended for reuse do not always need to be cleaned completely. Mortar residue usually needs to be removed sufficiently for reuse, while natural discolouration and patina can be retained.
Explore our reclaimed masonry bricks and projects to see how historic bricks can look in a new facade or application.
When is fine abrasive blasting a good choice?
Fine abrasive blasting can be useful when old bricks or a masonry surface need controlled cleaning and a test area shows that the surface tolerates the treatment.
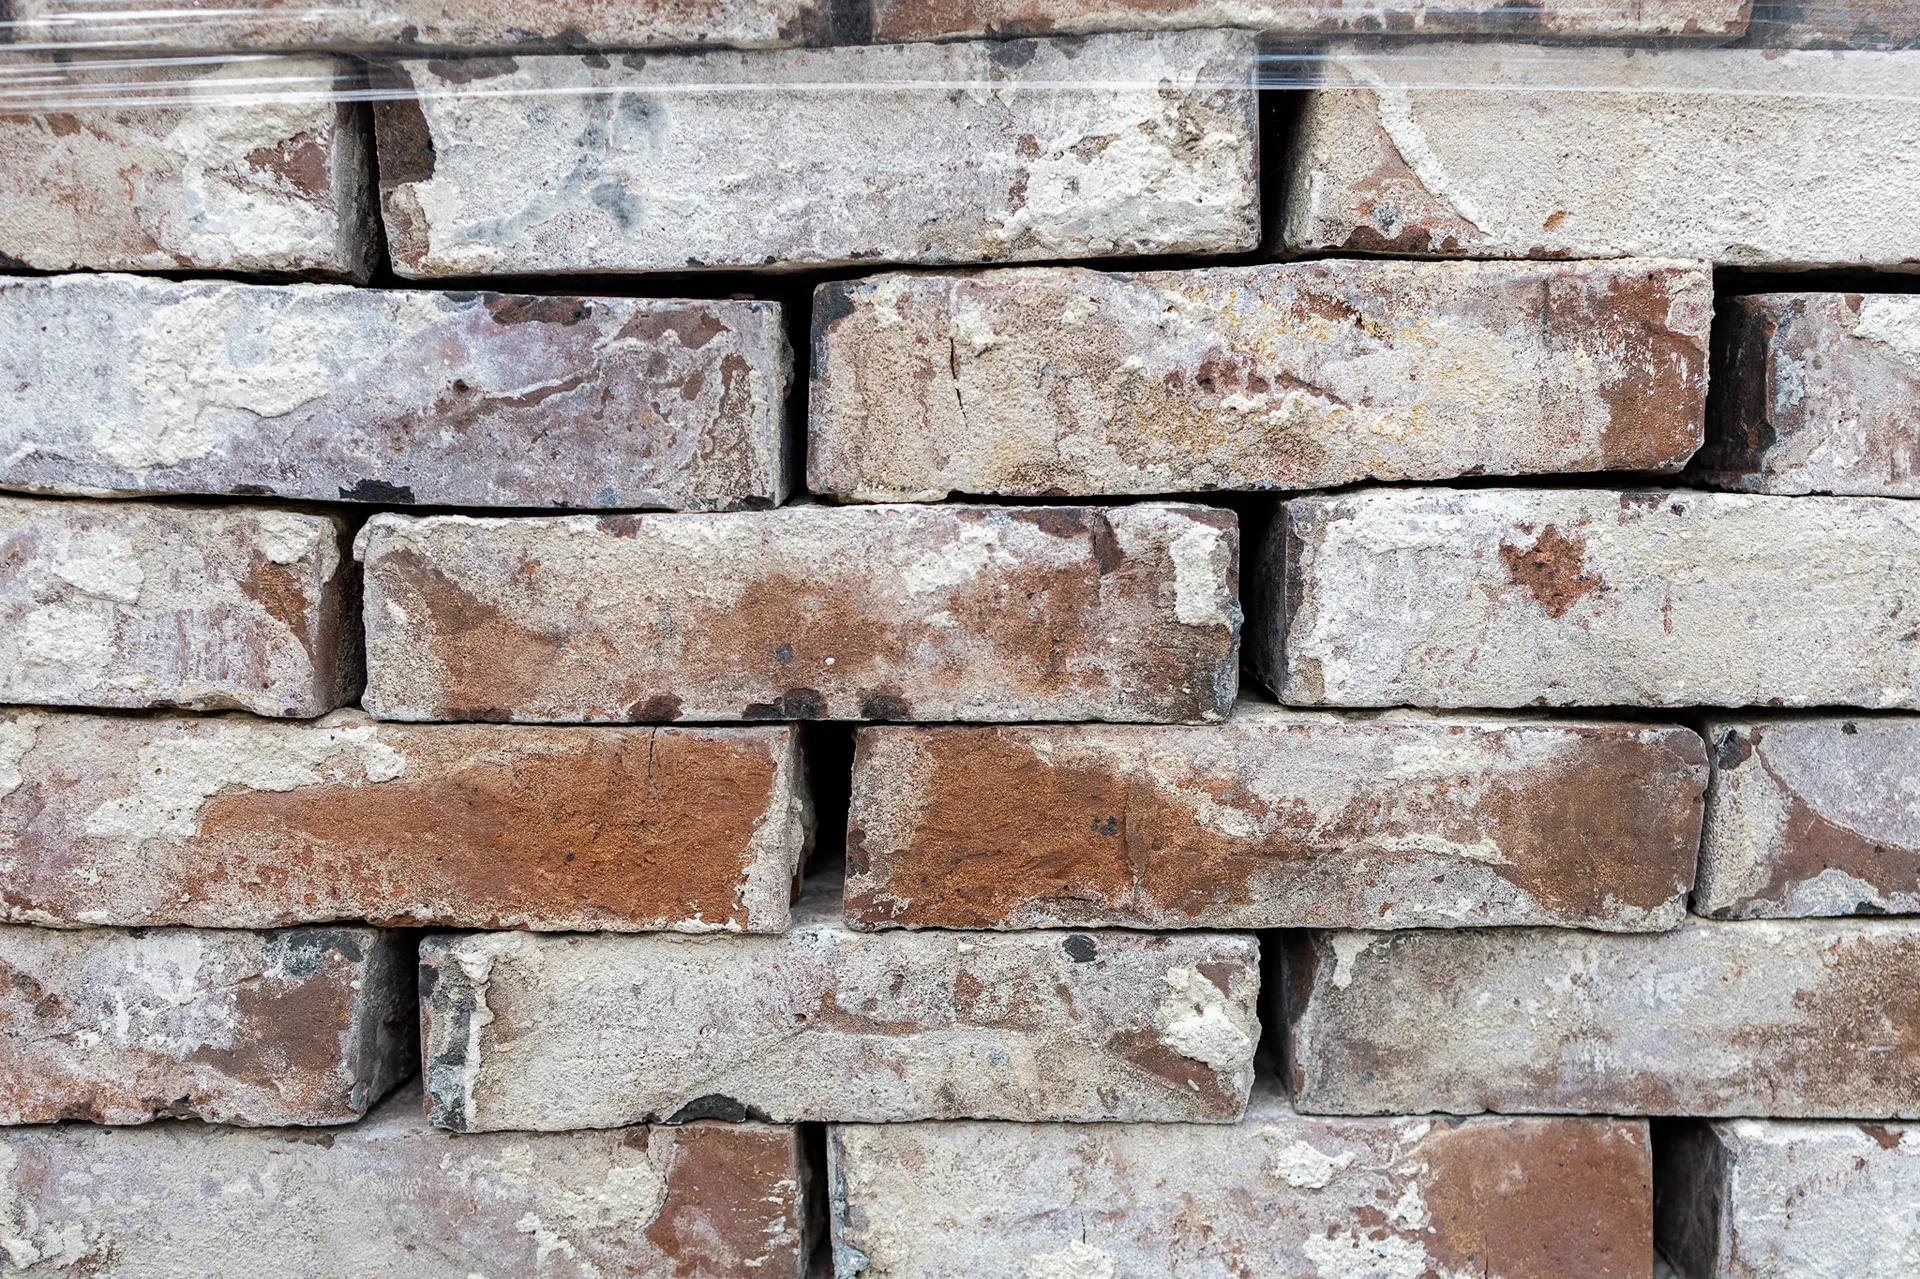
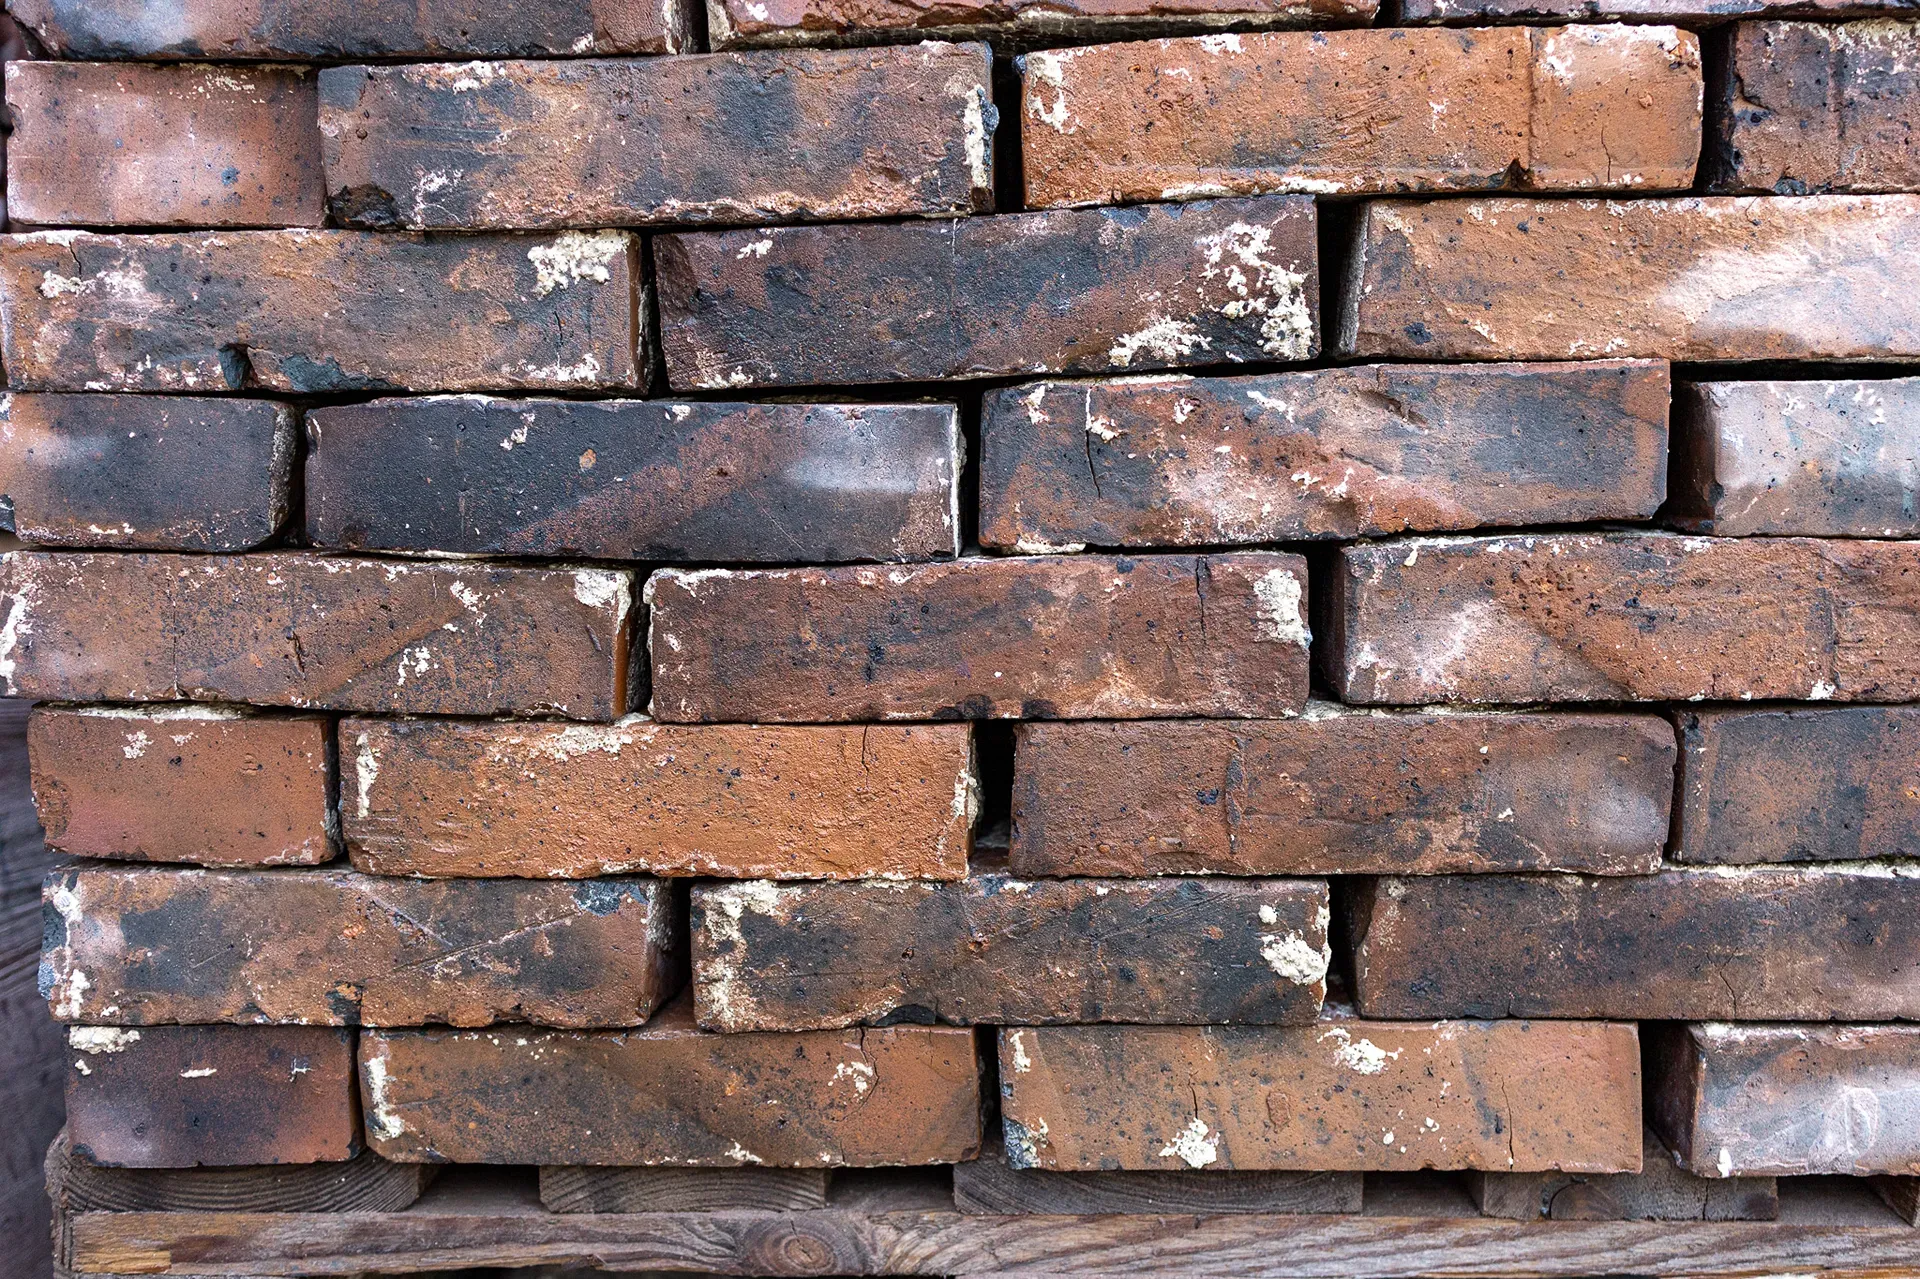
For vulnerable, listed or heavily weathered facades, specialist advice is advisable. Ultimately, the best cleaning method removes enough dirt without unnecessarily removing historic material. Below is a before-and-after example.
Frequently asked questions about fine abrasive blasting
Is fine abrasive blasting the same as sandblasting?
Not exactly. Both use a blasting medium and compressed air, but fine abrasive blasting is generally finer and more controlled. The precise equipment and settings determine how aggressive the treatment actually is.
Is fine abrasive blasting safe for old bricks?
It depends on the brick and how the work is carried out. Excessive pressure or an unsuitable blasting medium can damage the surface even with fine abrasive blasting. Always start with a test area.
Can fine abrasive blasting remove paint from bricks?
In many situations it can, but the result depends on the type of paint, the number of layers and the underlying surface. With vulnerable old bricks, care is needed to avoid removing the original brick surface along with the paint.
Do I need to apply a water-repellent treatment to old bricks after fine abrasive blasting?
Not as a standard step. Such treatment is only useful when the facade and its exposure to moisture warrant it, and the surface is suitable for treatment.