Laying antique floor tiles: a complete step-by-step guide
Laying antique floor tiles needs extra care with differences in size, thickness and colour. Learn step by step how to lay and finish reclaimed floor tiles and traditional Dutch estrikken.
Why does laying reclaimed floor tiles need extra care?
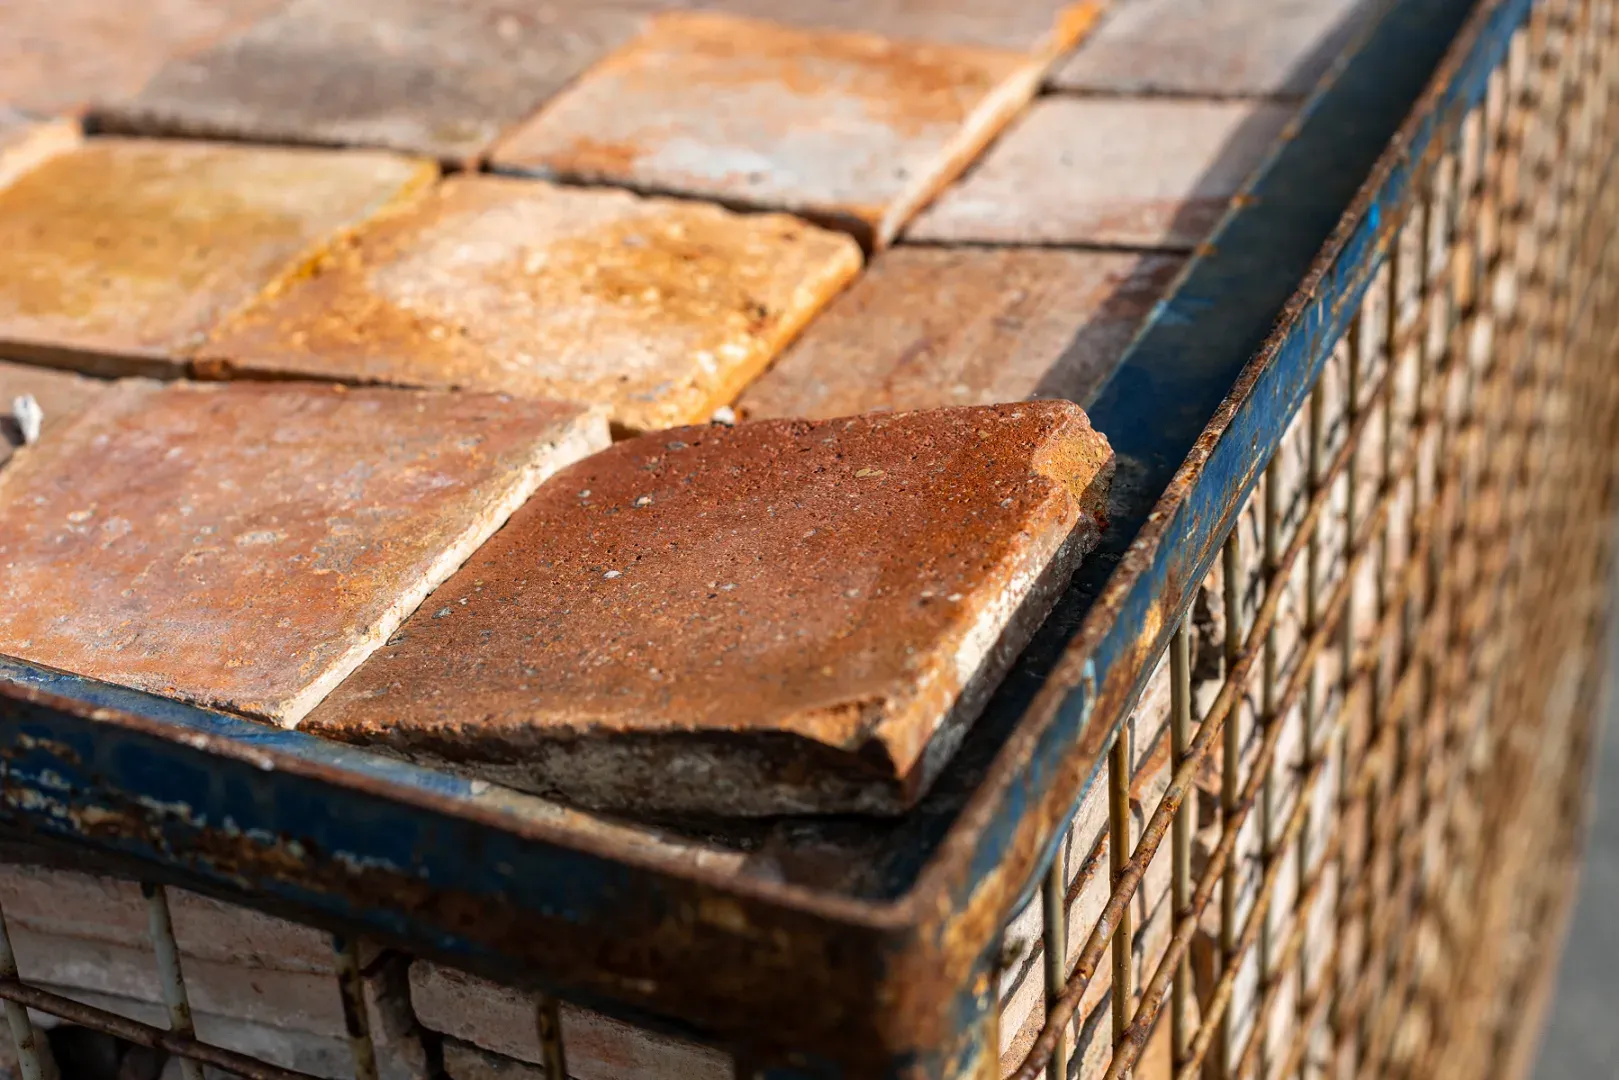
Authentic reclaimed floor tiles are not directly comparable with modern, consistently sized ceramic tiles. Their original production methods and age can produce small differences in size, thickness, colour and flatness.
These are not defects but an important part of the appearance of an old floor. During laying, the differences need to be deliberately distributed and accommodated. Good preparation therefore determines much of the final result.
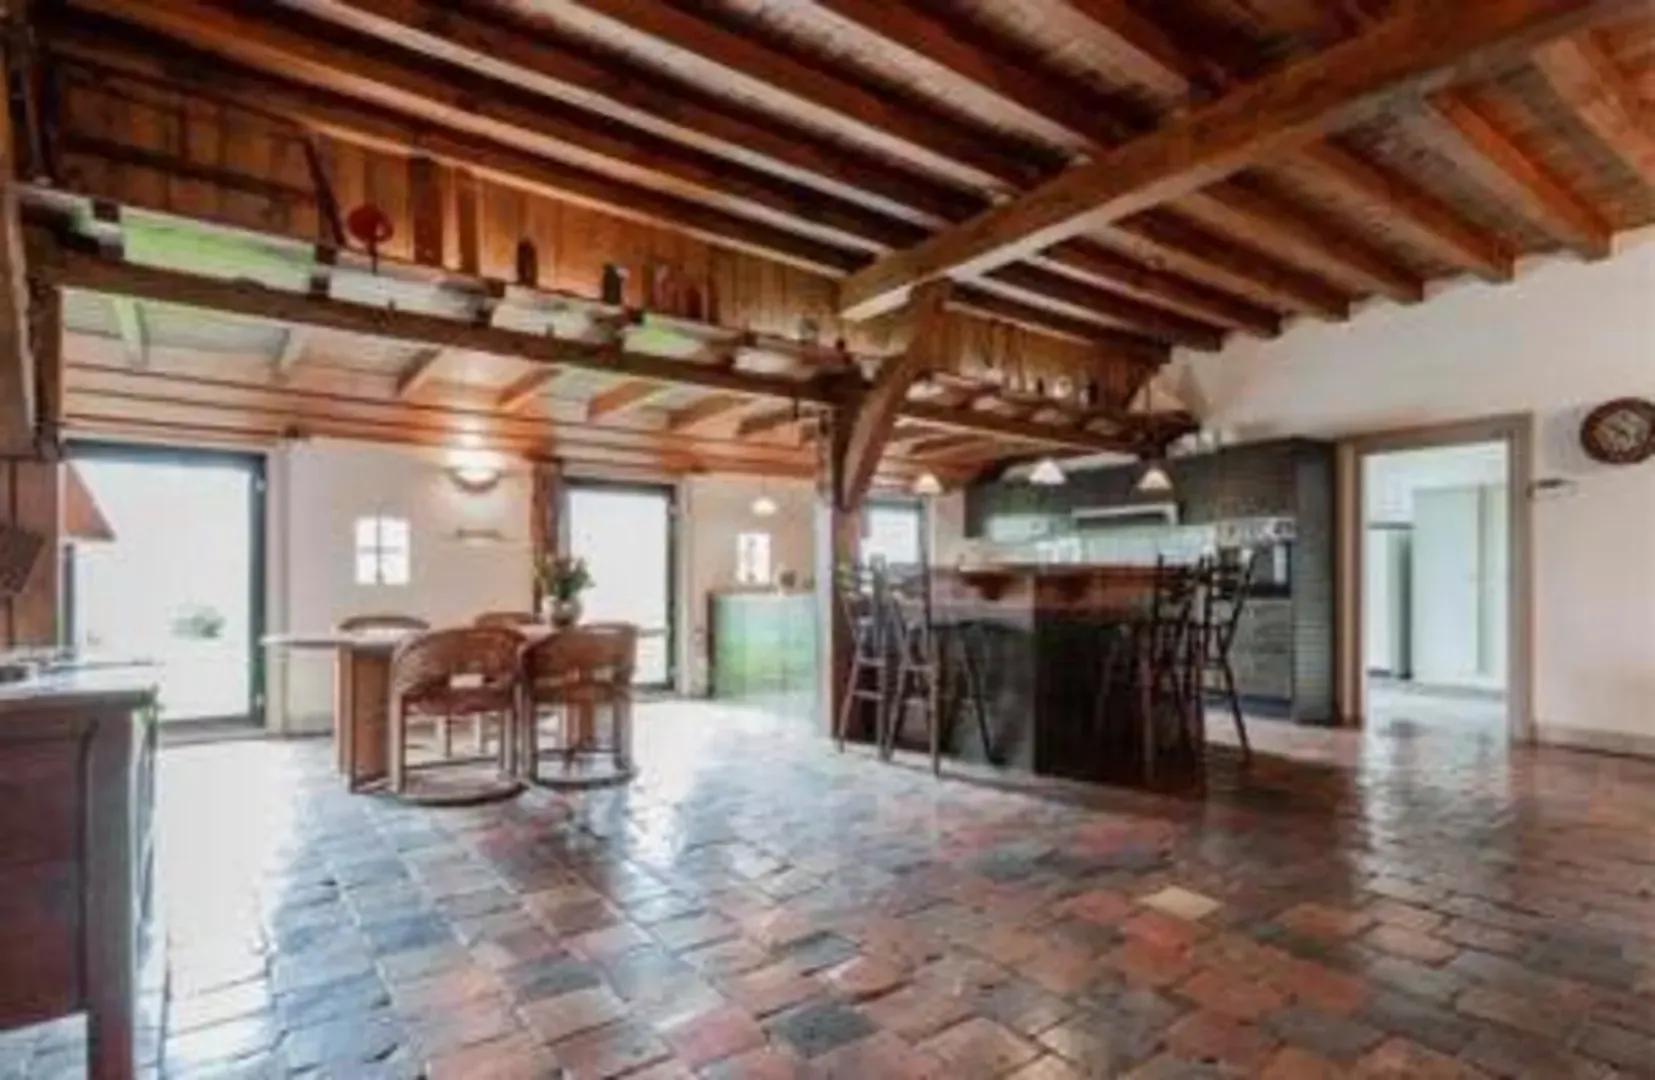
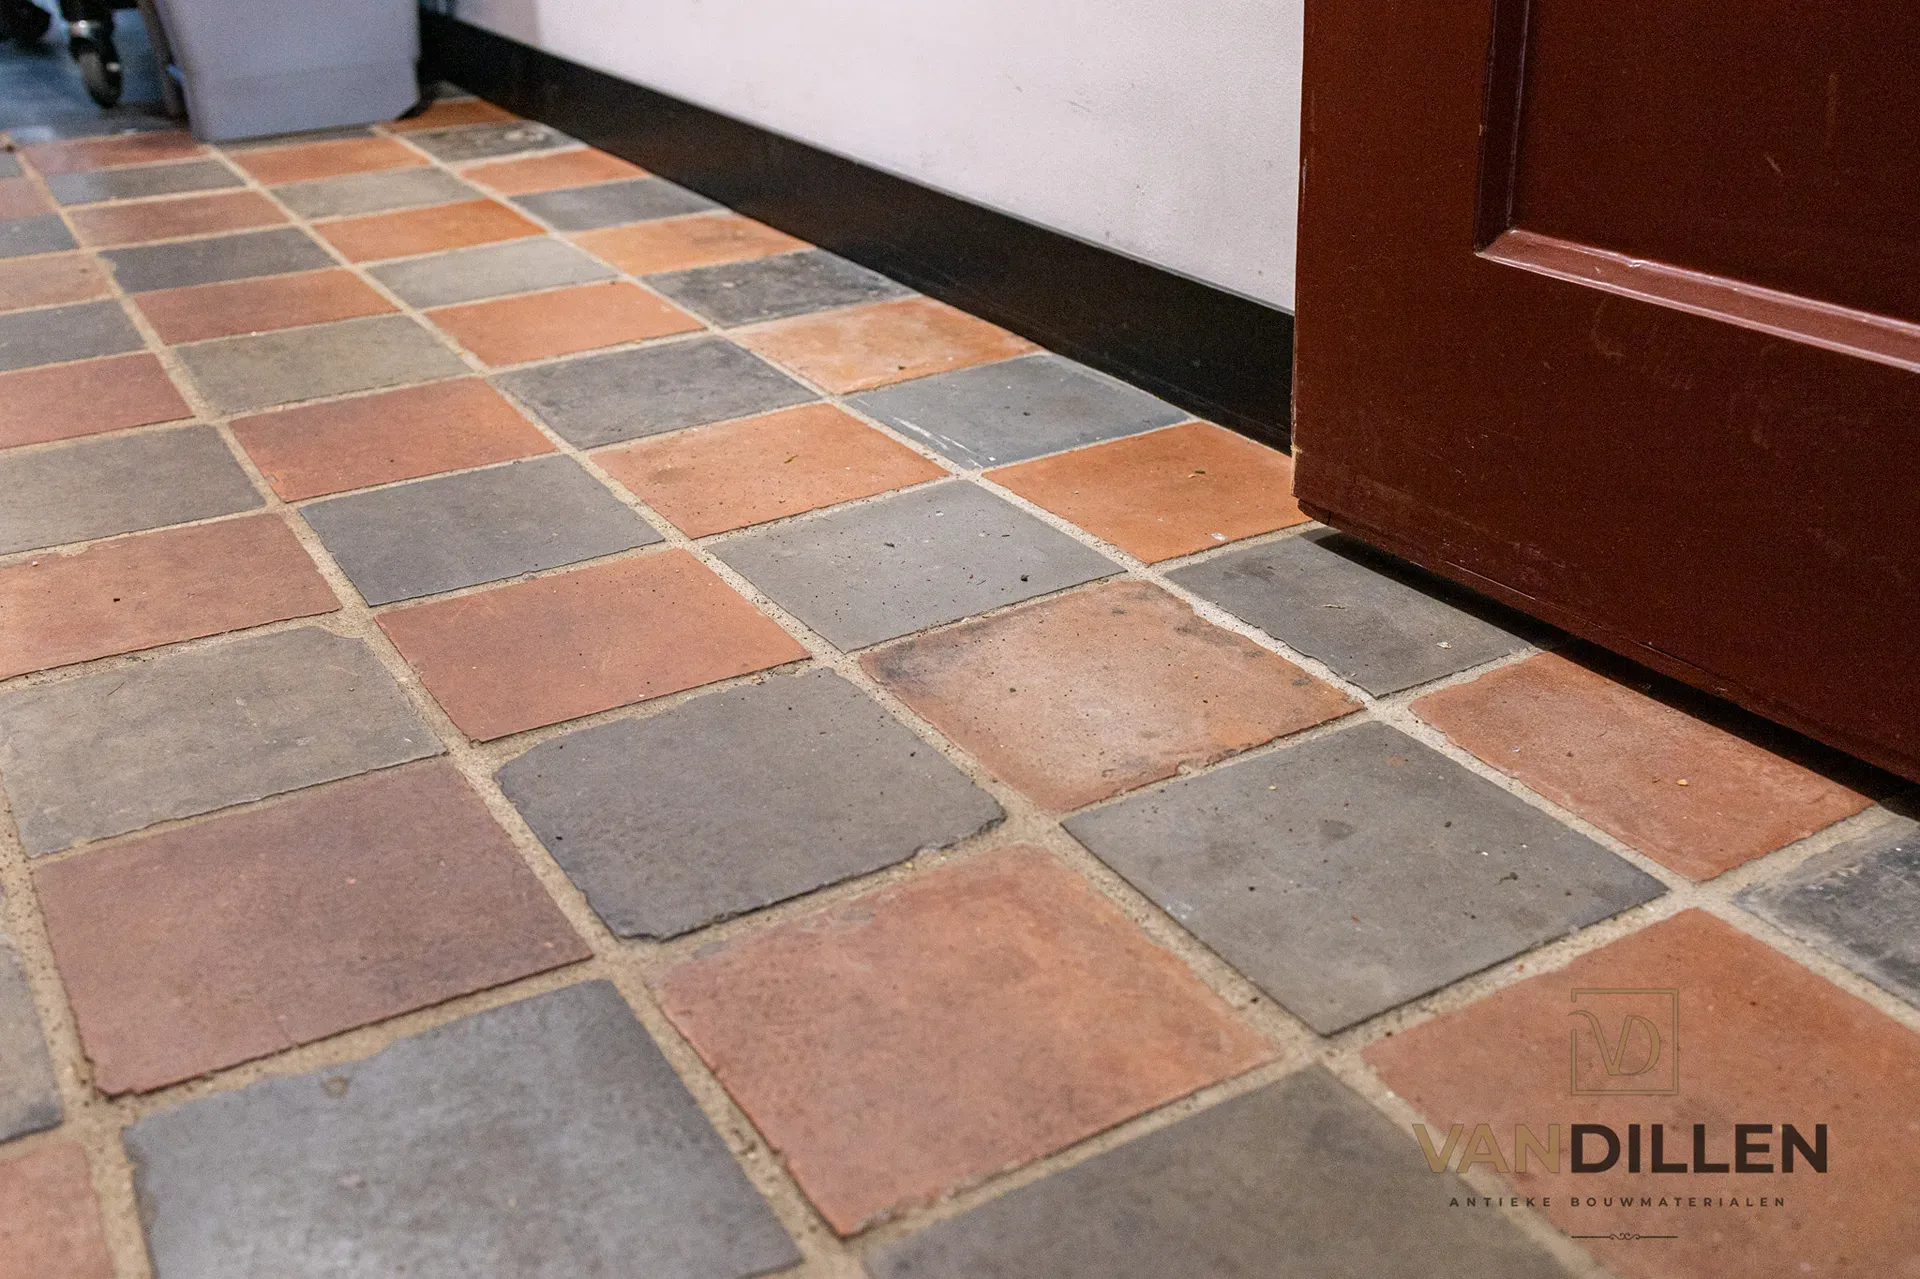
Browse our completed projects to see how reclaimed floor tiles and estrikken (traditional Dutch terracotta floor tiles) look as complete floors.
Step 1: check and sort the tiles
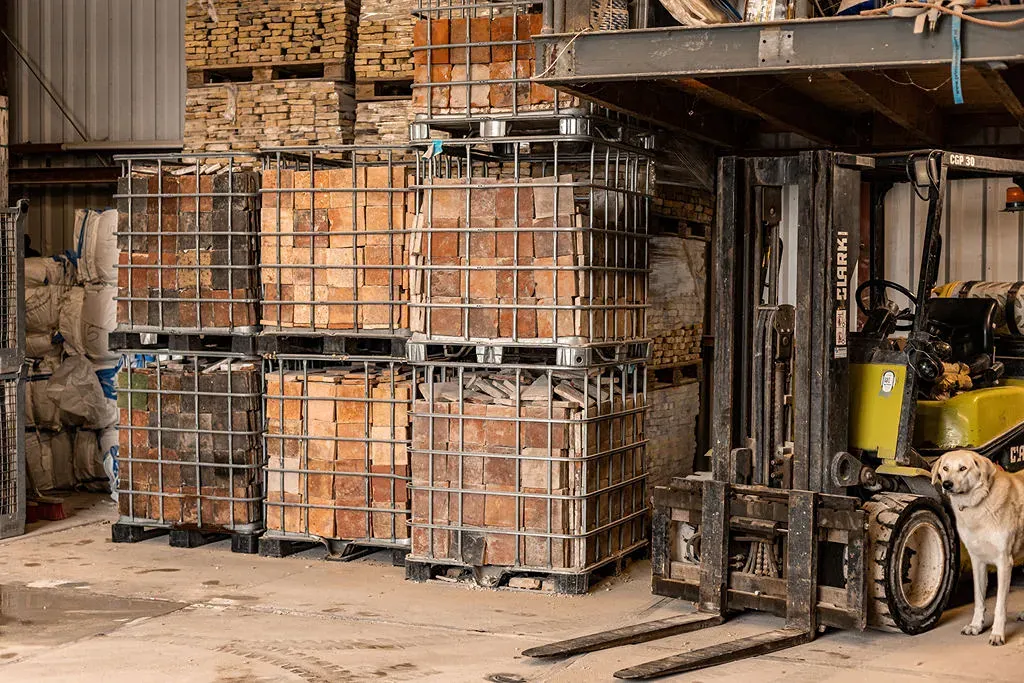
Open several crates or pallets before laying and inspect the full batch. Do not sort everything strictly by colour: the aim is to distribute natural variations evenly throughout the room.
At the same time, check variations in thickness and size and any damage. Tiles with unusual wear or colour can deliberately be placed in visible areas; less attractive examples may be suitable for cut pieces around the edges.
Terracotta tiles, grey reduction-fired tiles and glazed estrikken have very different characters. Always work with the specific batch you are laying.
Step 2: determine the pattern and layout
Dry-lay part of the floor beforehand. This shows how colour differences, sizes and joints work together before the tiles are permanently fixed.
Decide where to start and how the layout meets the room’s edges. This prevents a very narrow strip of tiles remaining along one side.
For strongly varied batches, mix tiles from different parts of the batch to create a more natural overall appearance.
Step 3: prepare a suitable substrate
The substrate must be sufficiently stable, load-bearing and suitable for the chosen laying method. Loose material, major unevenness or structural movement can cause problems later.
The necessary preparation depends on the existing floor construction, tile type and installation method. If unsure, have an experienced tiler or flooring specialist assess the substrate.
Step 4: allow for differences in thickness
Old tiles may differ in thickness by a few millimetres or sometimes more. The bed beneath each tile therefore cannot always be exactly the same thickness.
The finished floor surface is the reference during laying. Thicker and thinner tiles are bedded so their tops align as closely as possible without completely removing the natural character.
This is one reason why experience with historical floors can be valuable.
Step 5: choose a suitable joint width
Very narrow modern joints do not always suit reclaimed tiles. An appropriate joint can accommodate small size differences.
The right width depends on tile size, the batch’s dimensional consistency, the desired appearance and the laying method. Lay out a sample area beforehand to assess which proportions work best.
Step 6: lay the tiles with the whole floor in mind
Do not finish one entire pallet before starting the next. Mix tiles from different crates or pallets so colour and texture variations are spread throughout the floor.
Regularly step back to assess the work. A tile that looks very different on its own may fit beautifully into the whole, while several striking tiles together can create an unwanted patch of colour.
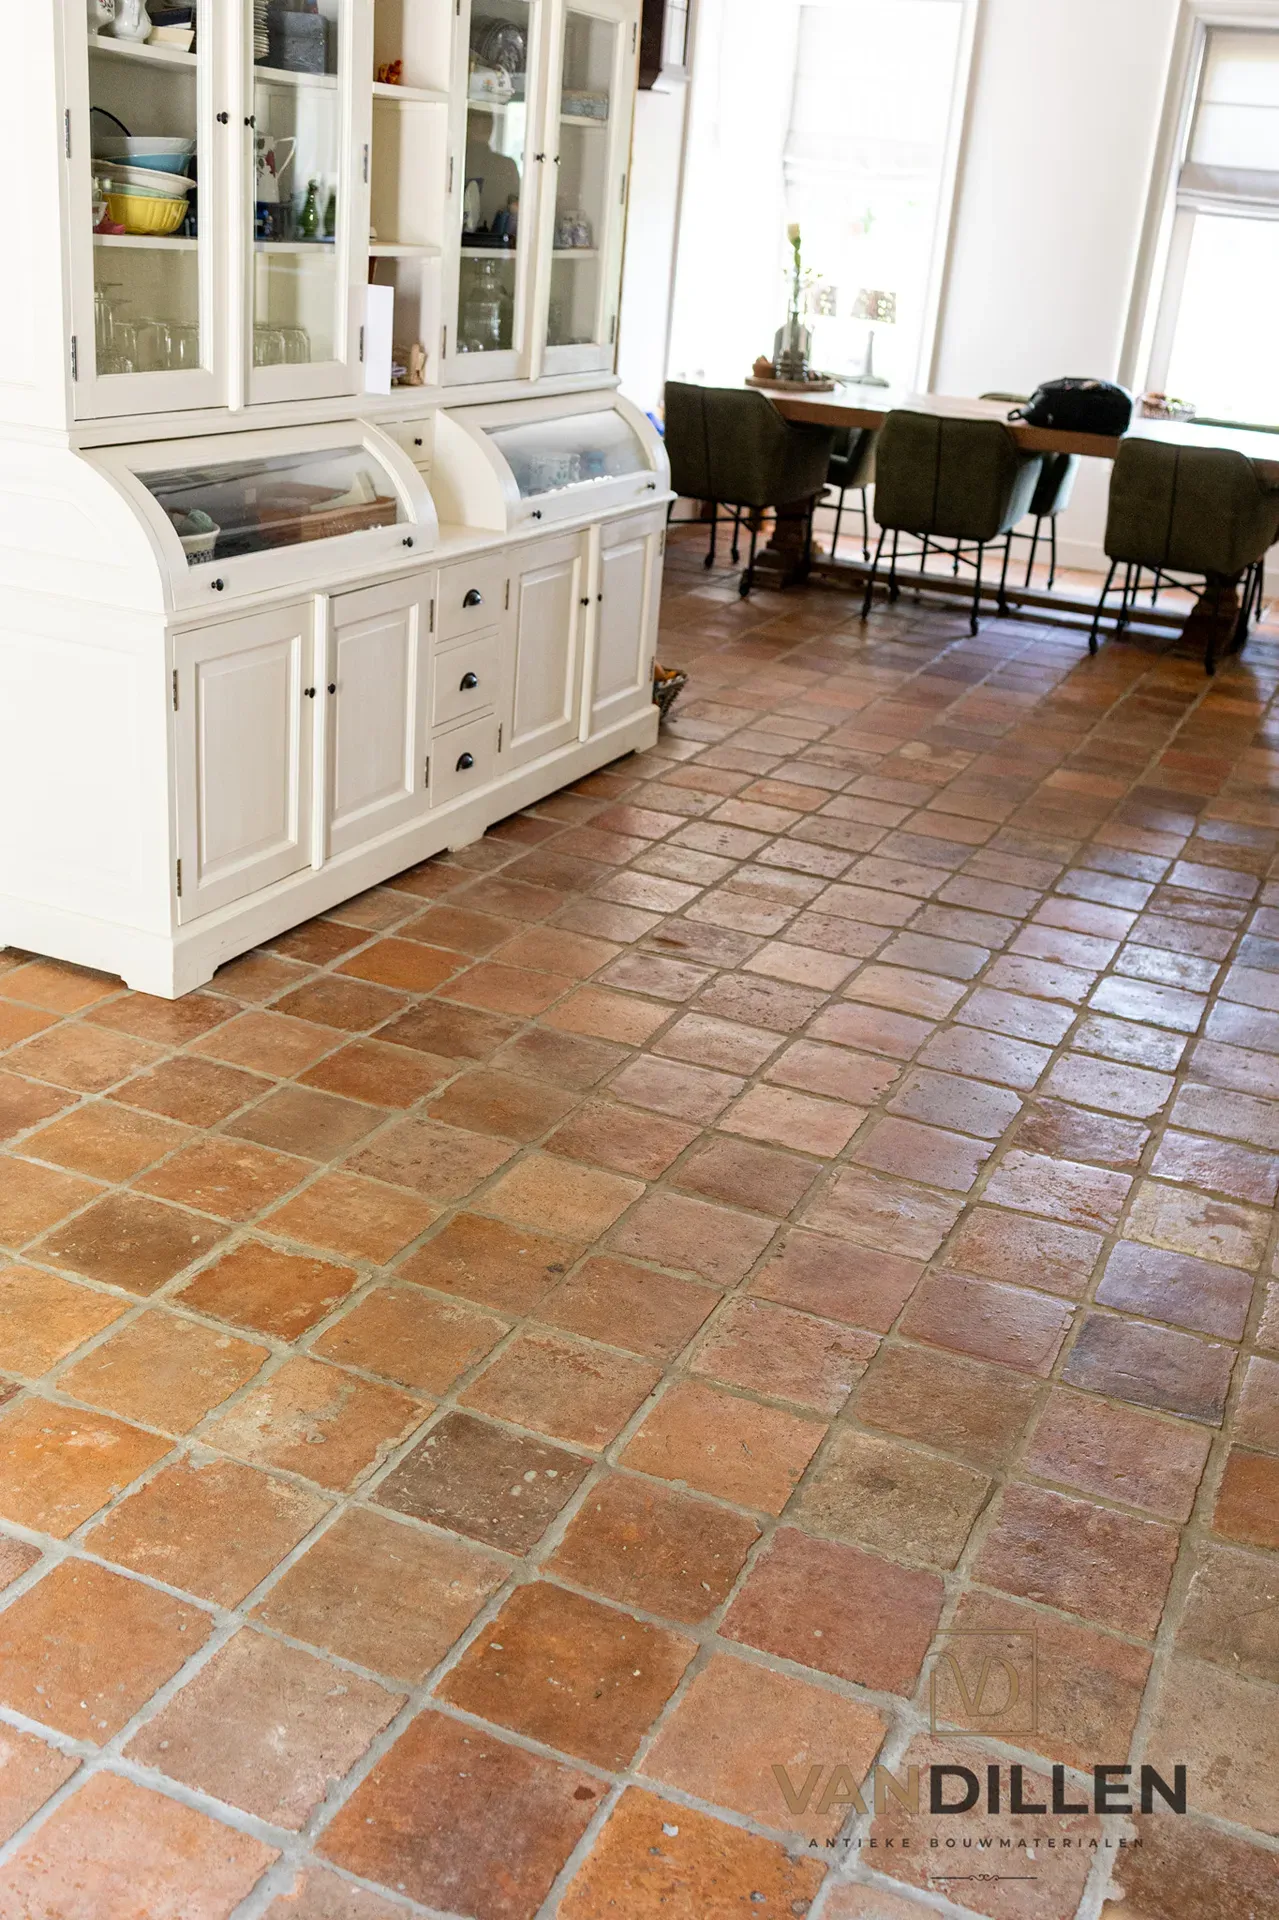
Our projects show authentic floors and their natural colour and texture variation.
Step 7: allow sufficient curing time
Give the mortar, adhesive or other bedding material enough time to cure before placing heavy loads on the floor or proceeding with finishing. The required time depends on the system, substrate, temperature and room conditions.
Follow the product instructions or the installer’s guidance instead of assuming a fixed drying time for every historical floor.
Step 8: grout the reclaimed tiles
Grout only once the bedding layer has cured sufficiently. Choose a grout suited to the tile and intended appearance.
Grout can penetrate porous unglazed surfaces more readily than glazed ones. Work carefully and, if unsure, test on a loose tile or small area.
Remove grout residues promptly using a method suitable for the surface. Do not use an aggressive cleaner without knowing how the historical tile will respond.
Step 9: clean and, if appropriate, impregnate
After laying and grouting, the floor can be further cleaned and finished. The appropriate treatment differs by tile type.
Unglazed terracotta is generally more porous than glazed estrikken. An impregnating treatment can therefore be useful for some floors to reduce the absorption of moisture, dirt and stains.
Before treatment, read our detailed explanation of impregnating reclaimed tiles.
Laying reclaimed tiles over underfloor heating
Both reclaimed floor tiles and estrikken work very well with underfloor heating. They absorb heat and release it gradually into the room.
The whole floor construction matters. Substrate, heating system, bedding layer and tile must together be suitable for temperature changes. Gradually starting the system after laying is also important.
Read more in our separate guide to reclaimed tiles and underfloor heating.
Common mistakes when laying antique floor tiles
Not mixing the tiles beforehand
If crates or pallets differ noticeably in colour, visible patches can appear in the finished floor. Mix the batch during laying.
Expecting a completely uniform floor
Small differences in size, thickness, colour and flatness belong to authentic historical tiles. Distribute them neatly rather than trying to make the floor resemble a modern factory product.
Choosing joints that are too narrow
With a batch that varies in size, very narrow joints can look unsettled or be difficult to achieve. Choose the joint width based on the actual batch.
Aggressive cleaning without a sample
Old surfaces, patina and glaze can respond differently from modern tiles. First test a cleaning or treatment product in an inconspicuous area or on a loose tile.
Ordering too few extra tiles
Historical batches are finite. Allow enough extra material for cutting, breakage and selection. Around 10% extra is often a useful starting point, but the required margin depends on the batch, pattern and room.
Floor tiles and estrikken: differences in installation
The basic laying principles are similar, but the surface can require different treatment. Old floor tiles, for example, are often unglazed and porous, while many old estrikken have glazed surfaces.
This matters especially for cleaning, grouting and any subsequent treatment. For more about terminology and properties, see the difference between plavuizen and estrikken.
Maintenance after laying
A well-laid old floor can serve for many years, but care must suit the material. Avoid unnecessary aggressive or strongly acidic cleaners and choose maintenance suited to the surface.
For everyday and periodic care, read our detailed article on maintaining reclaimed floor tiles.
Buying antique floor tiles for your project
Van Dillen Antieke Bouwmaterialen offers a large, changing selection of reclaimed floor tiles for homes, farmhouses, restoration and new builds. Options range from warm terracotta and grey reduction-fired floors to distinctive glazed estrikken.
Because every historical batch is unique and finite, we recommend reserving enough from the same batch. Browse our current old floor tiles and old estrikken or visit us in Bolsward to compare floors side by side.
To see how different batches look after installation, browse our projects with reclaimed floor tiles.